Before we dig into how to take self-portraits with the Canon R6, I just want to say I recommend doing this on a day when you have time to relax into the process. Self-portraits are not a quick, easy process. It’s full of trial and error and many bad photos for every good one. I do not say that to discourage you but to help you start the process with the right mindset.
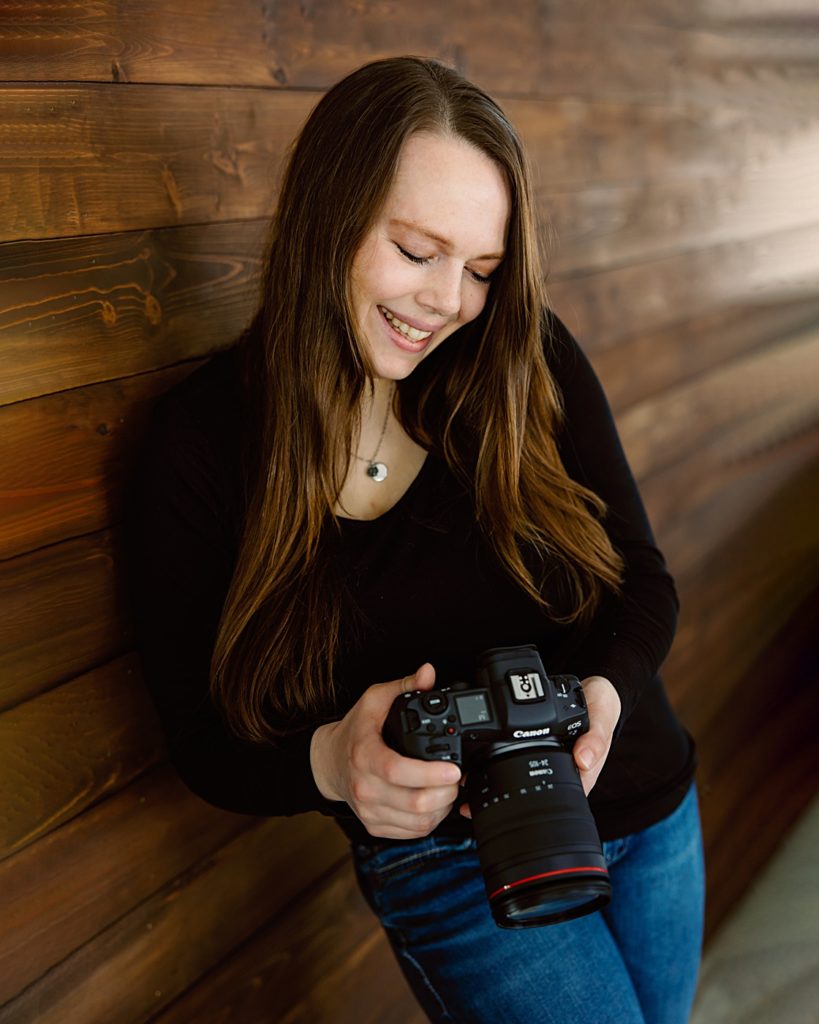
Tools to Have Ready for the Self-Portraits
- Canon R6 (or another camera with wireless capabilities)
- Your favorite portrait lens (I used the rf 28-70 f/2)
- Tripod
- Cell Phone or Tablet
- Canon Connect App
- A comfortable space to photograph in
- A cute outfit that fits your personality
Step 1: Connect Your Camera to the App
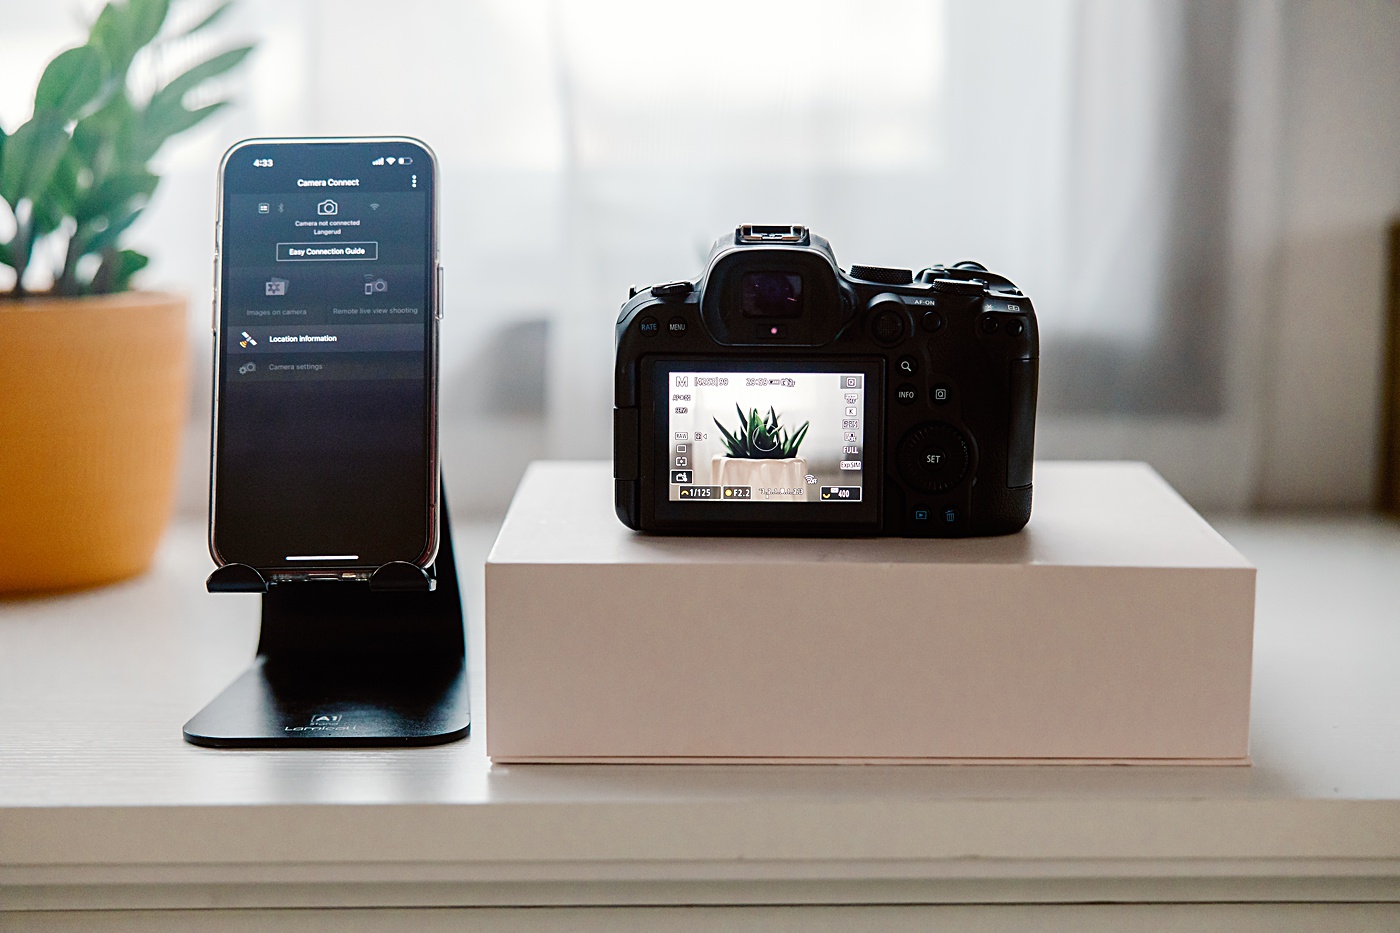
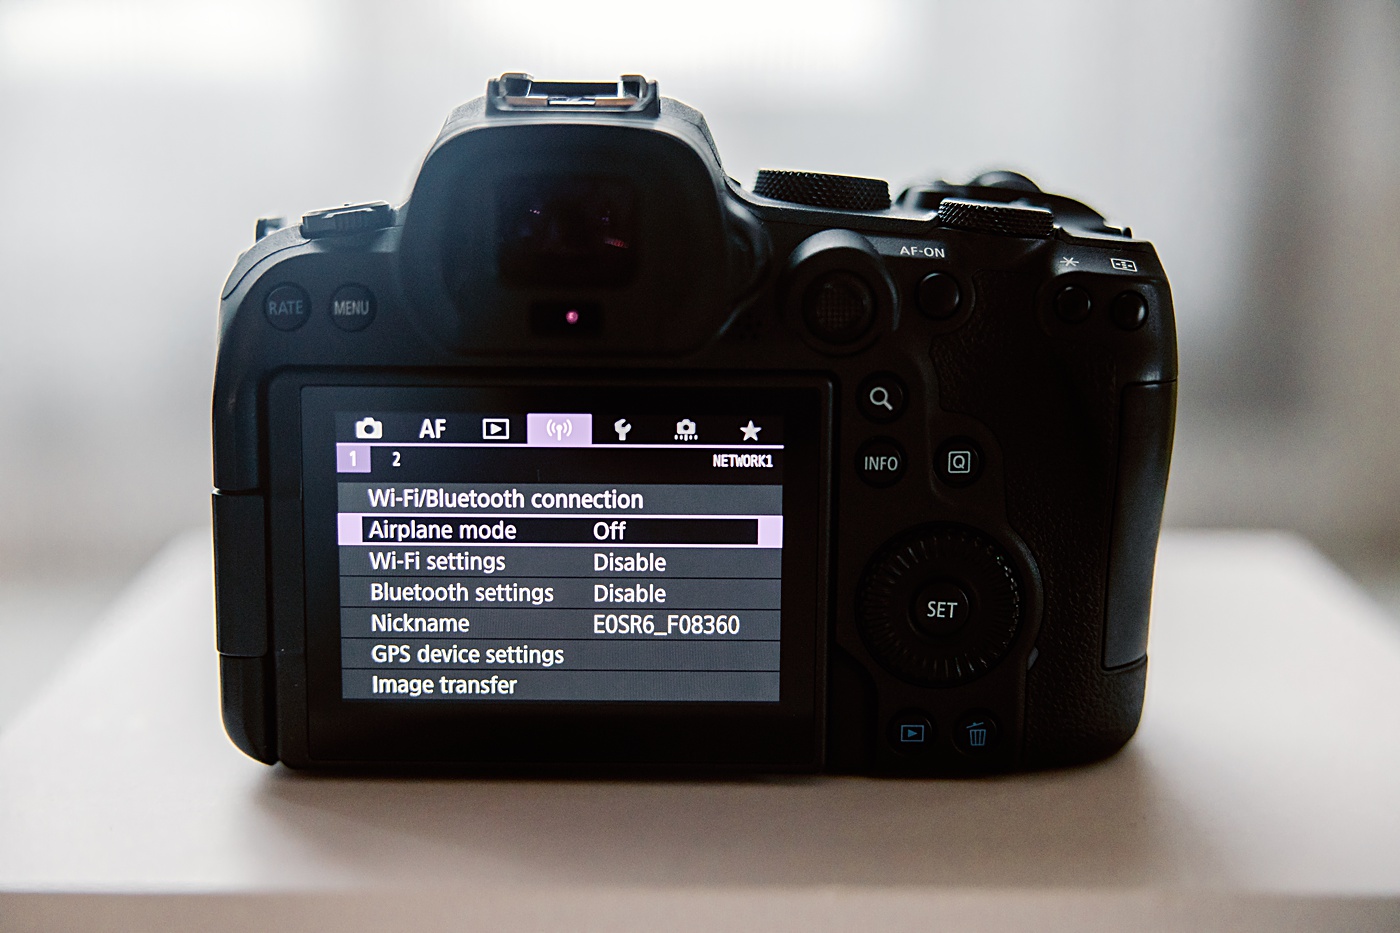
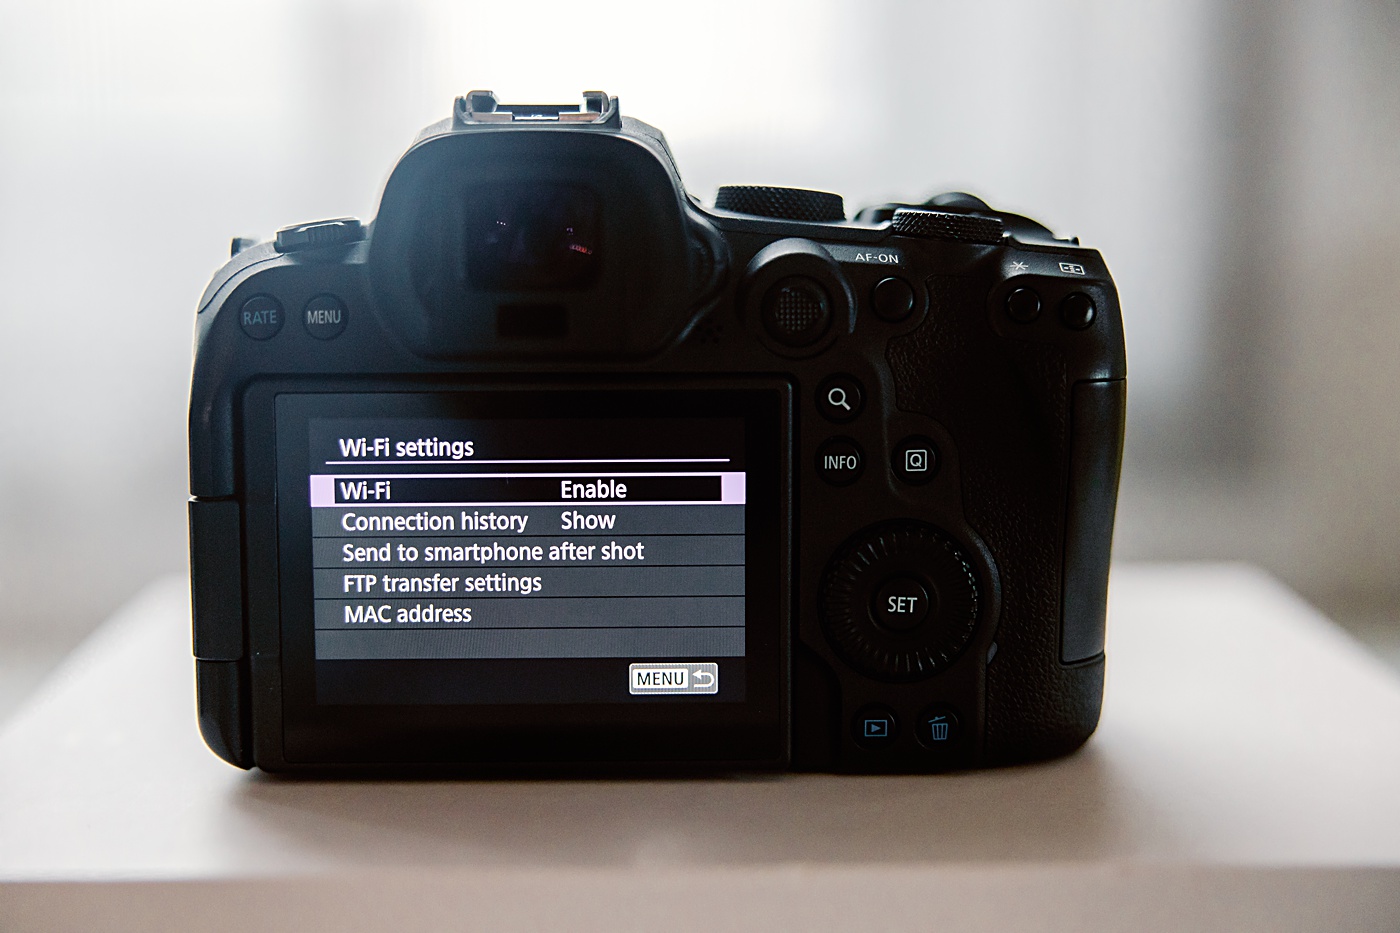
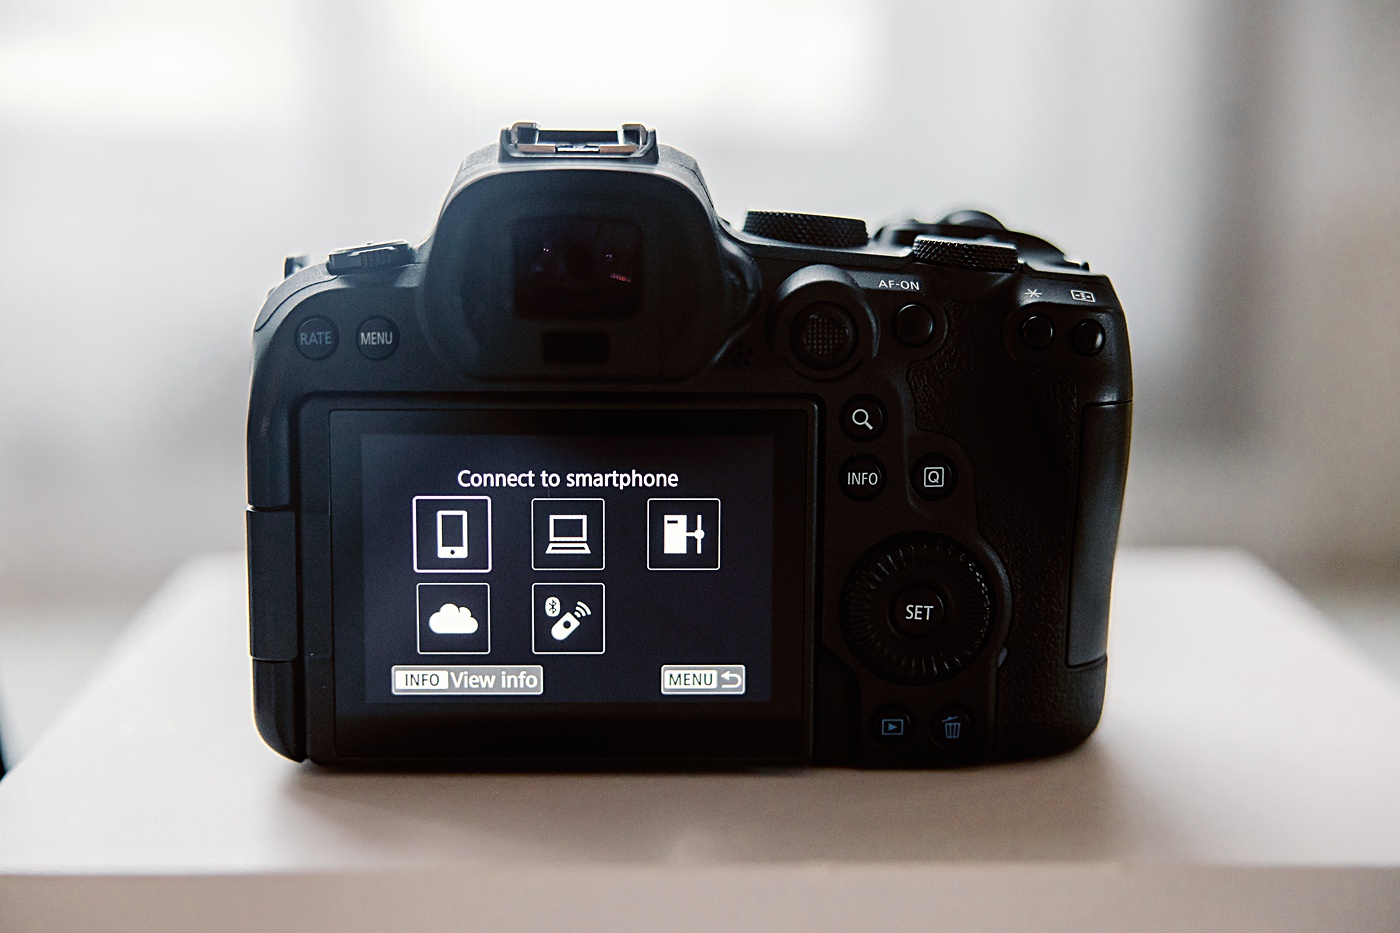
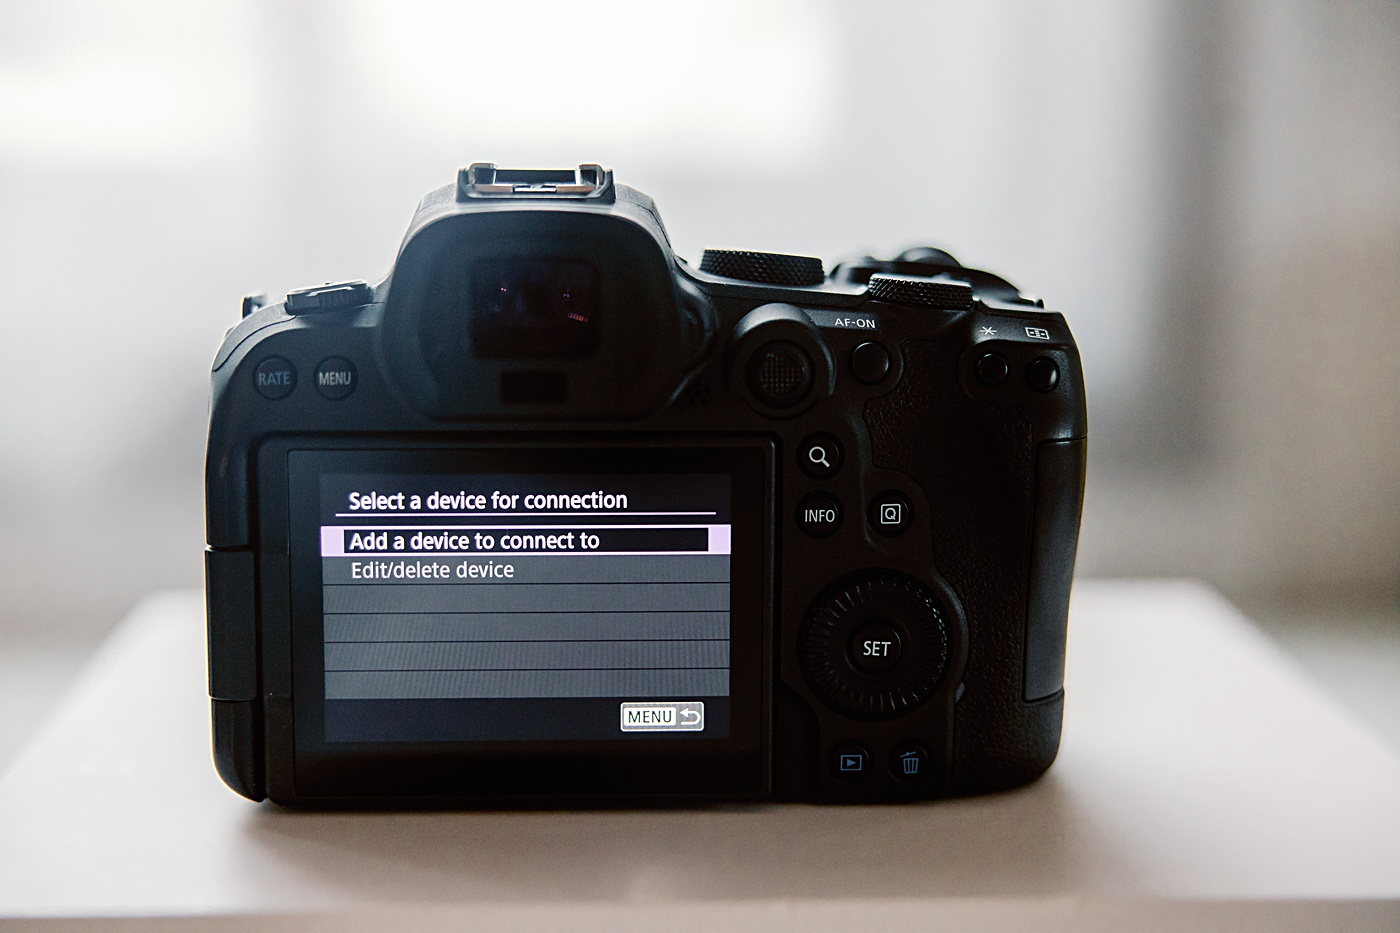
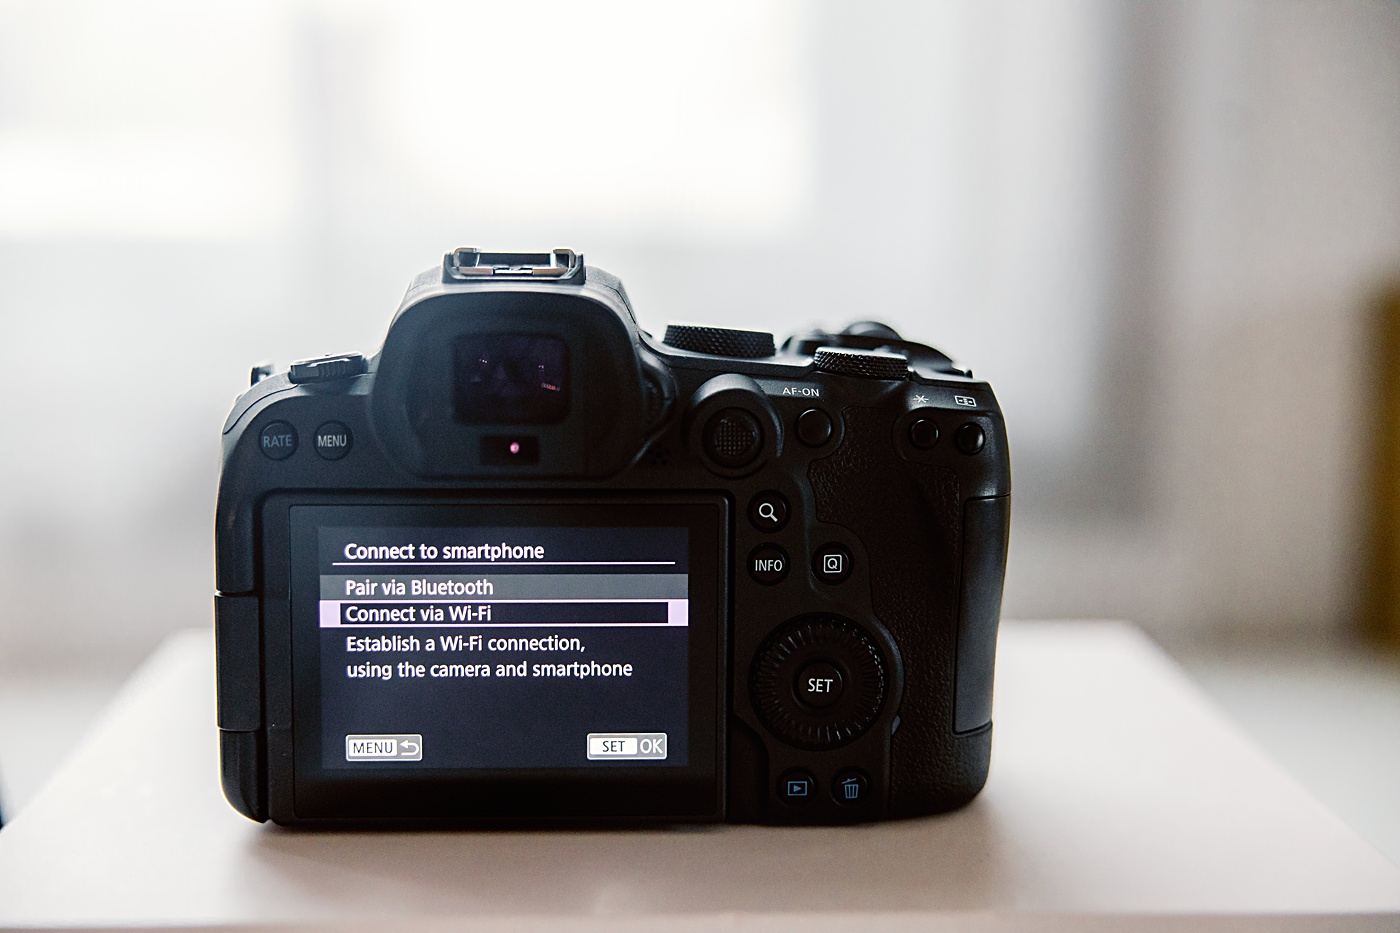
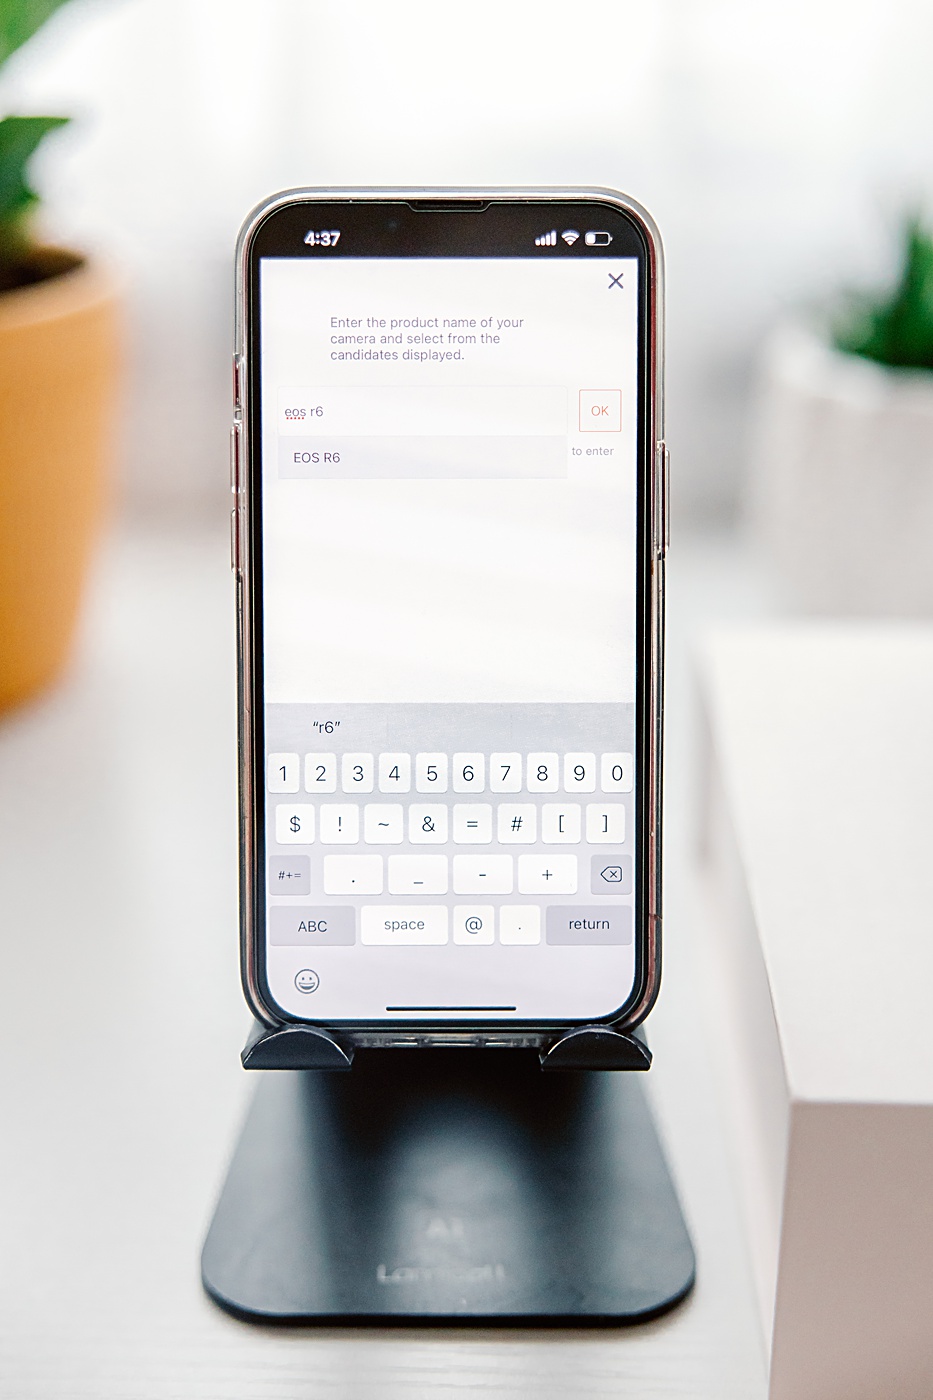
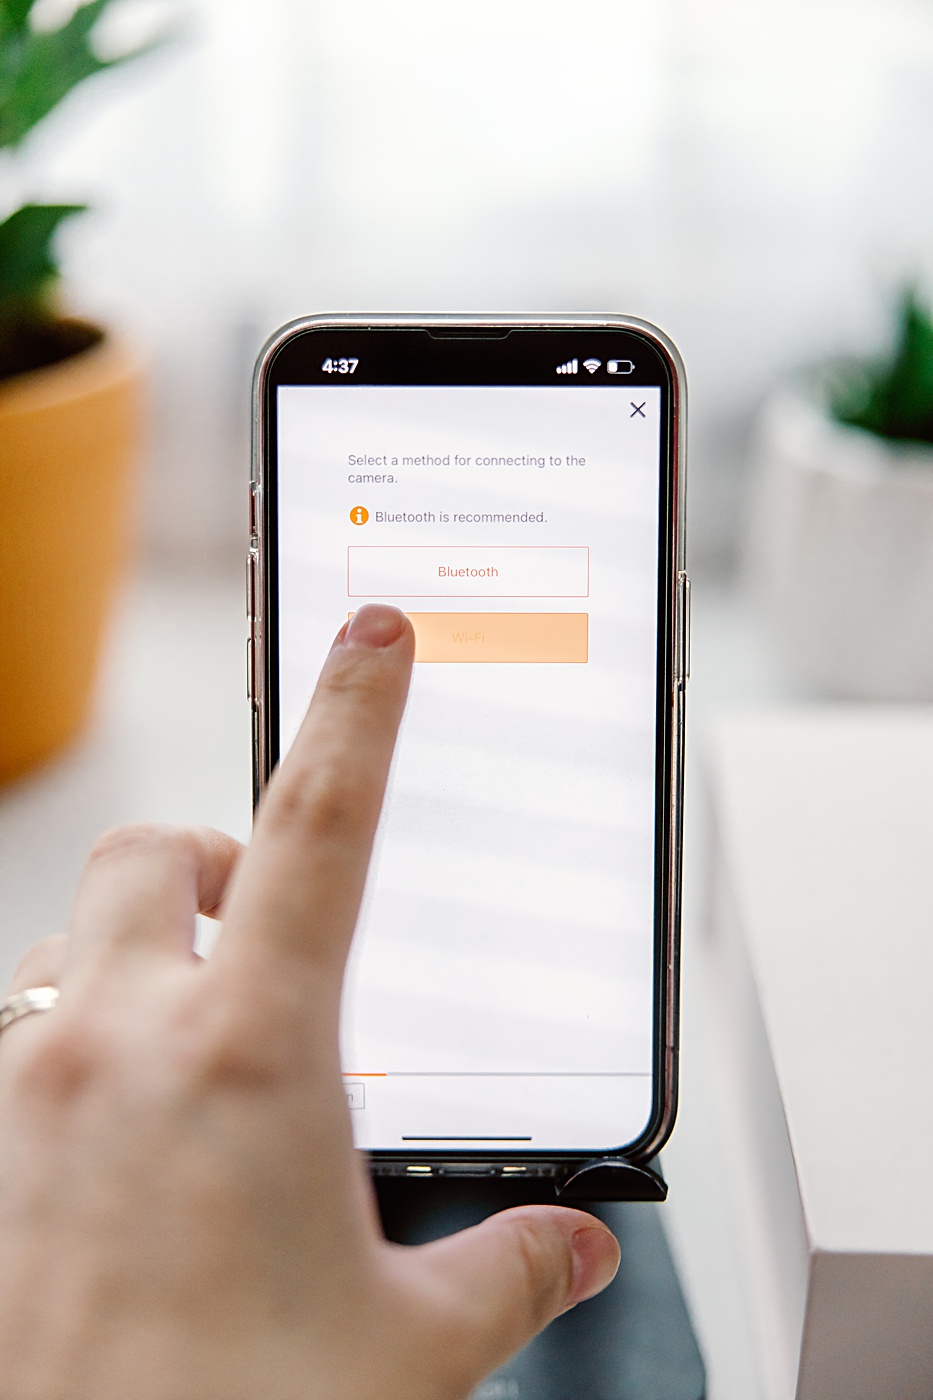
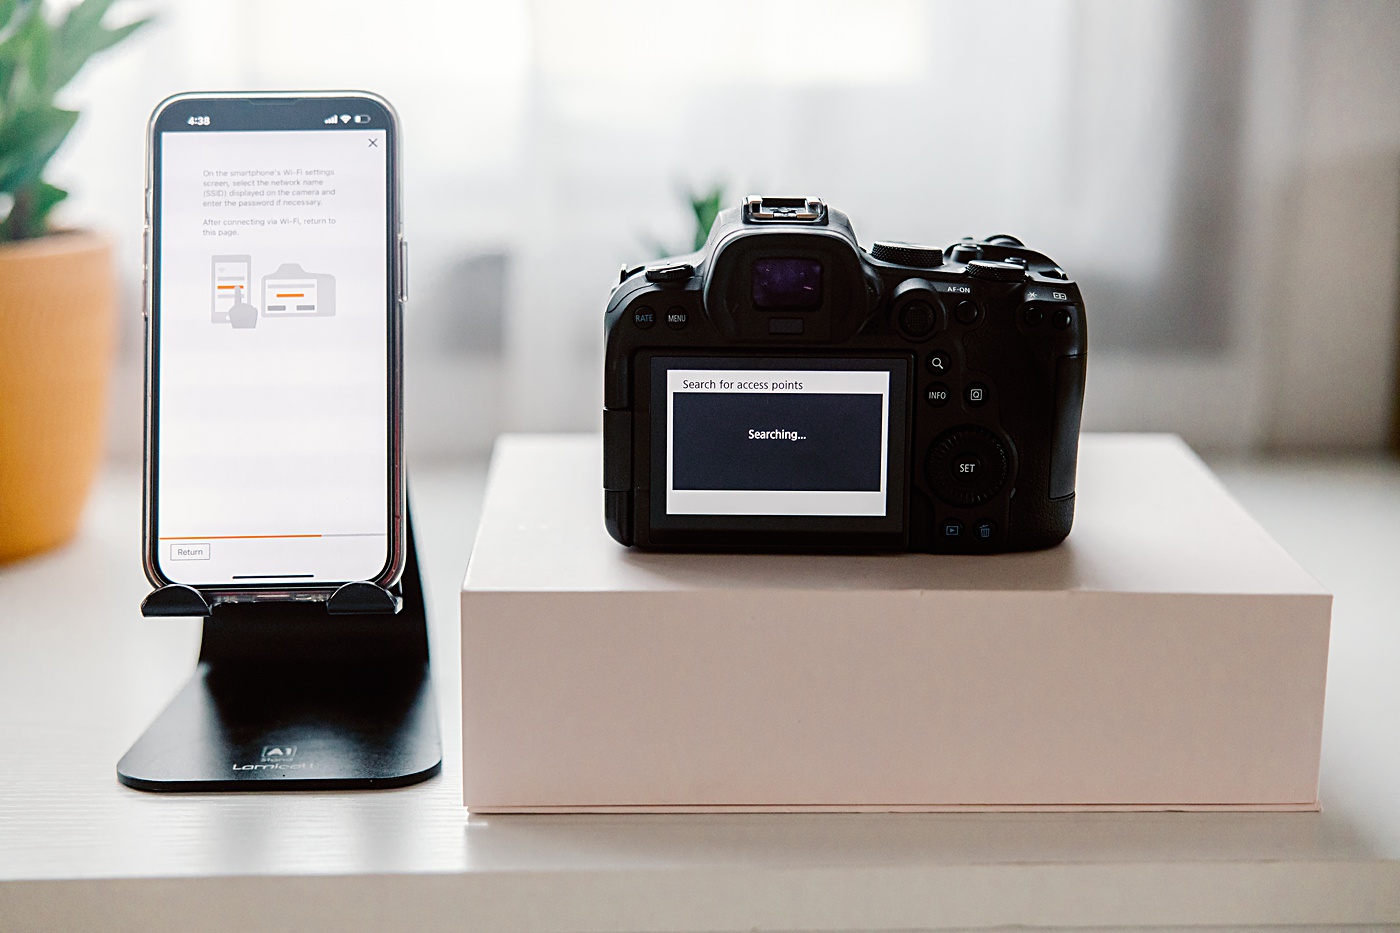
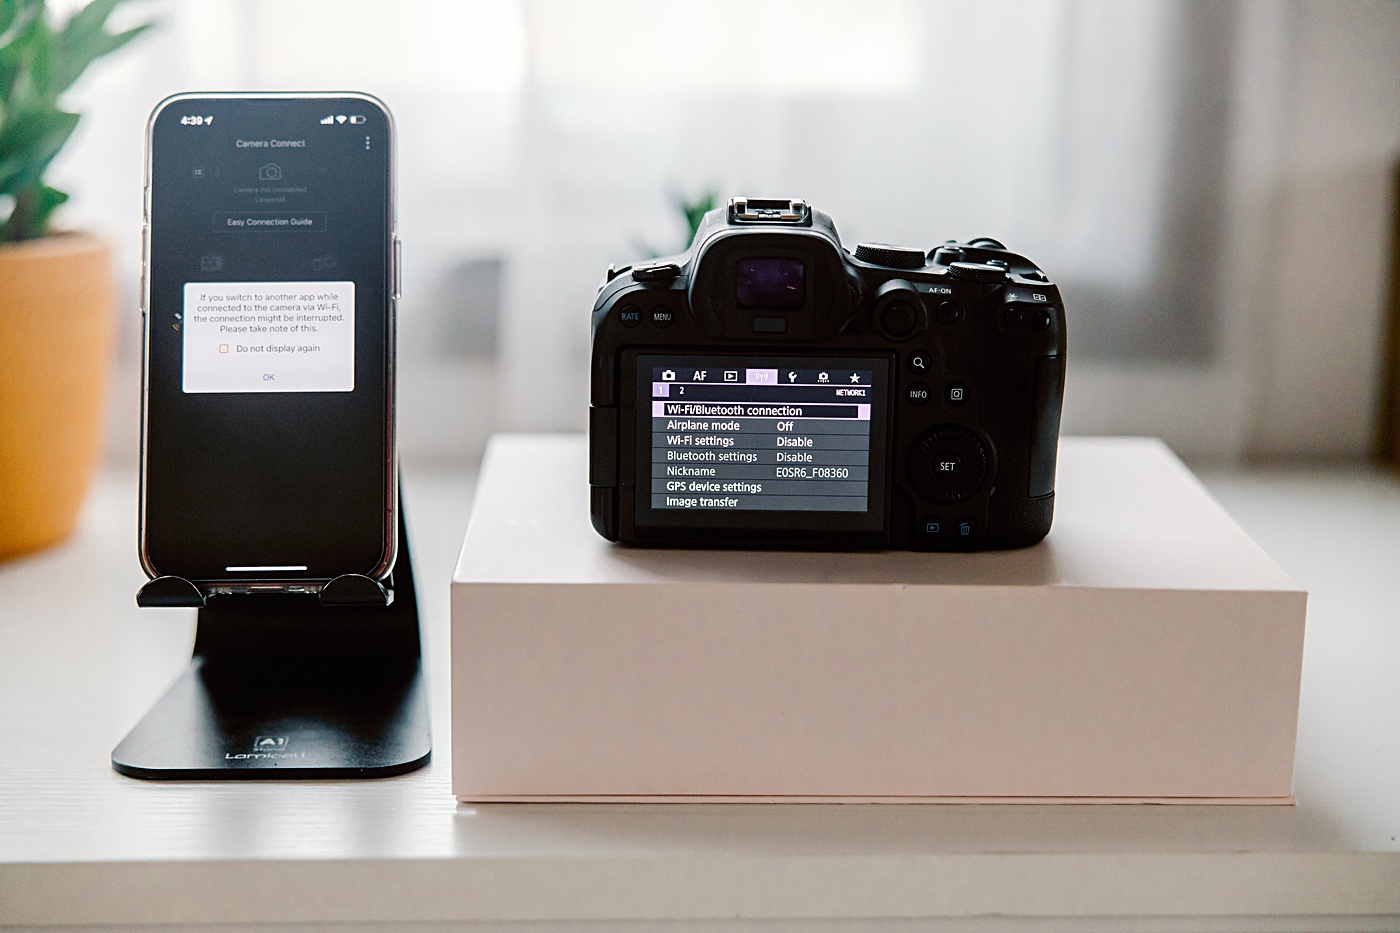
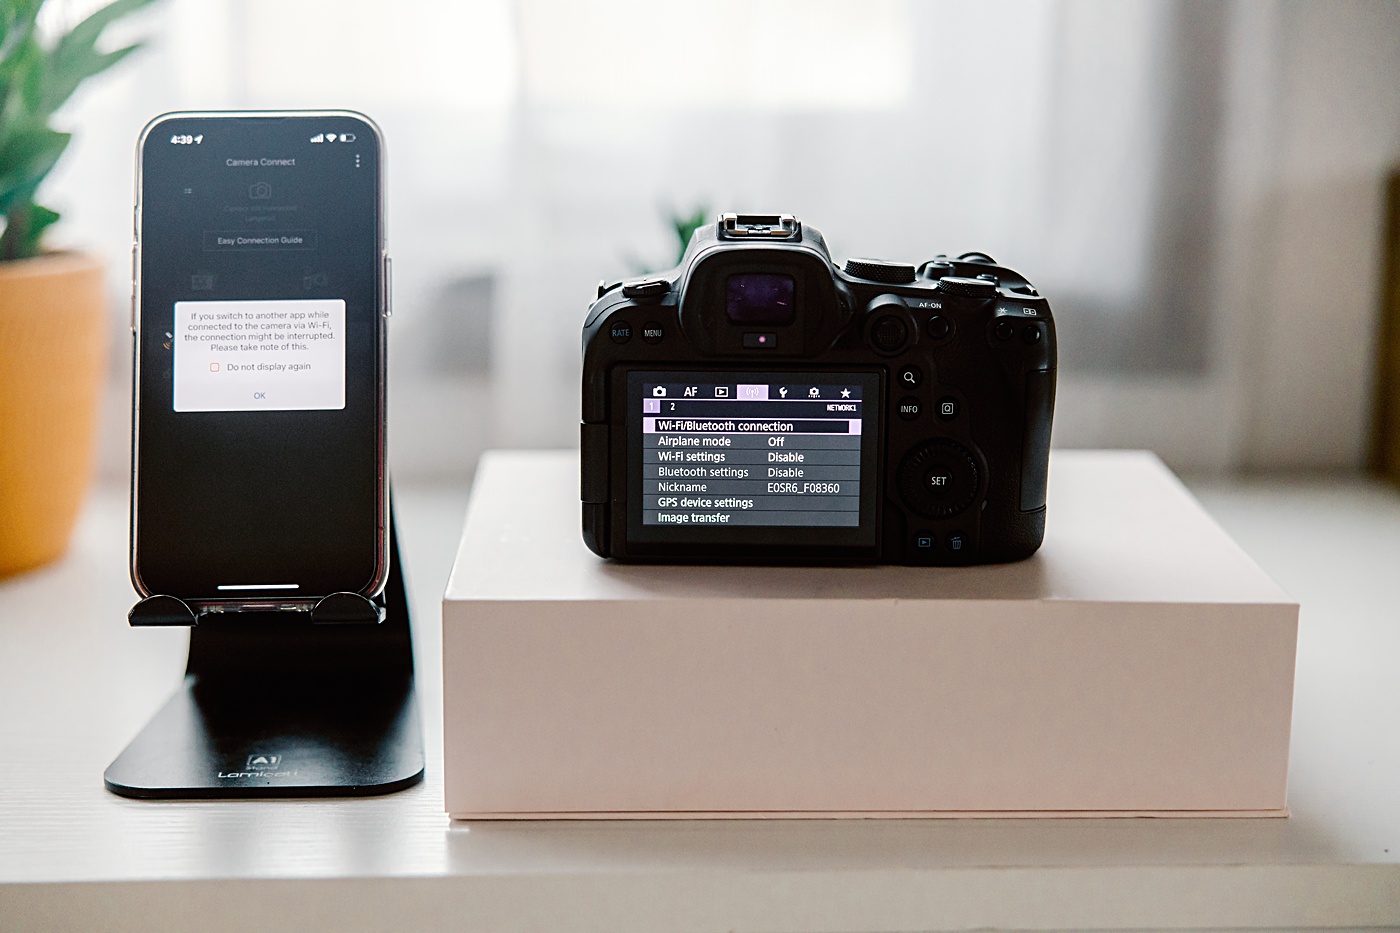
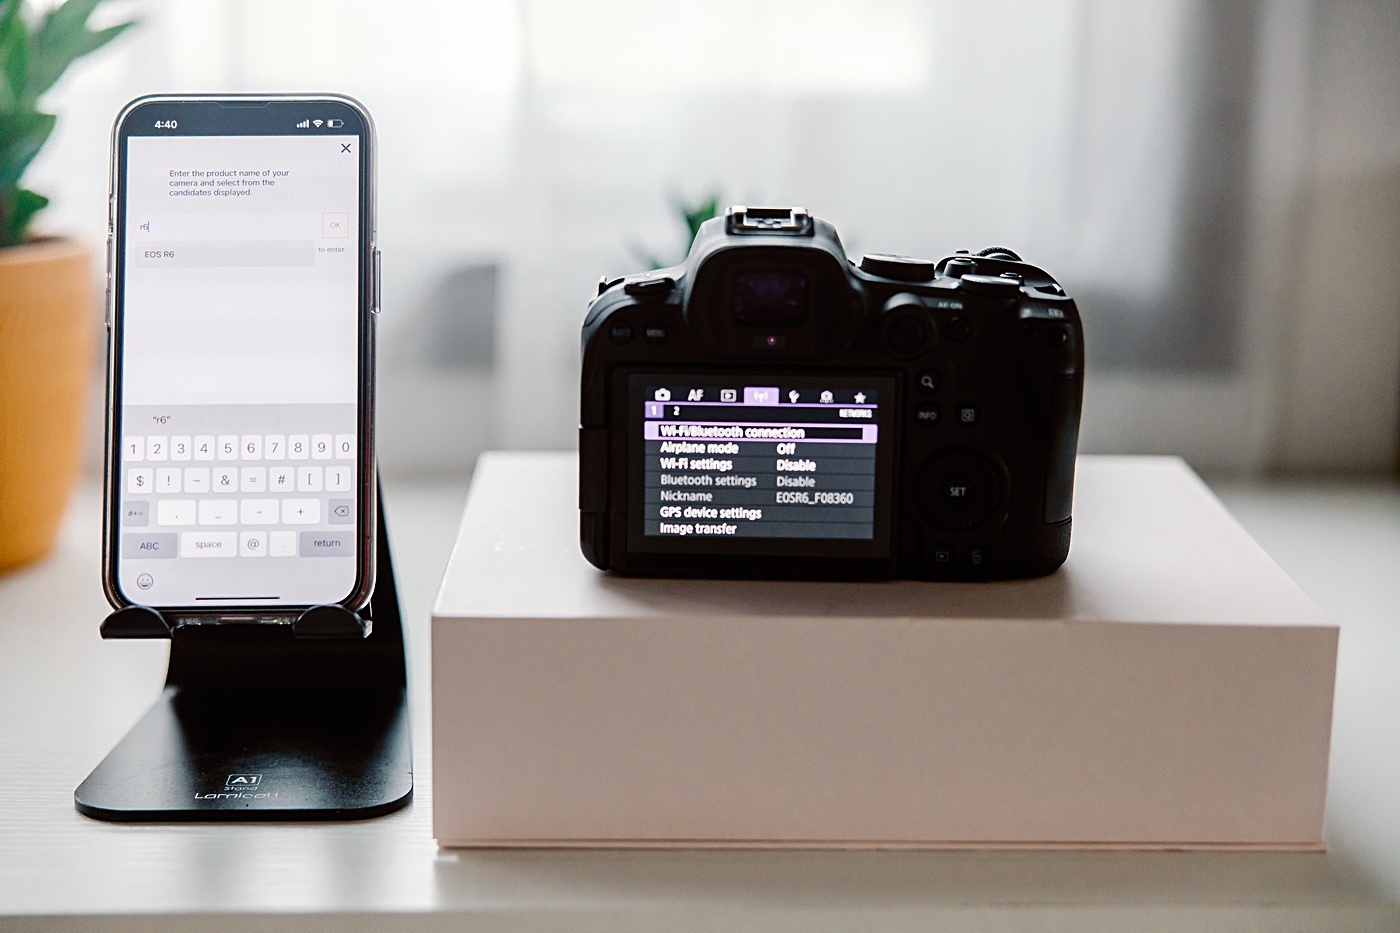
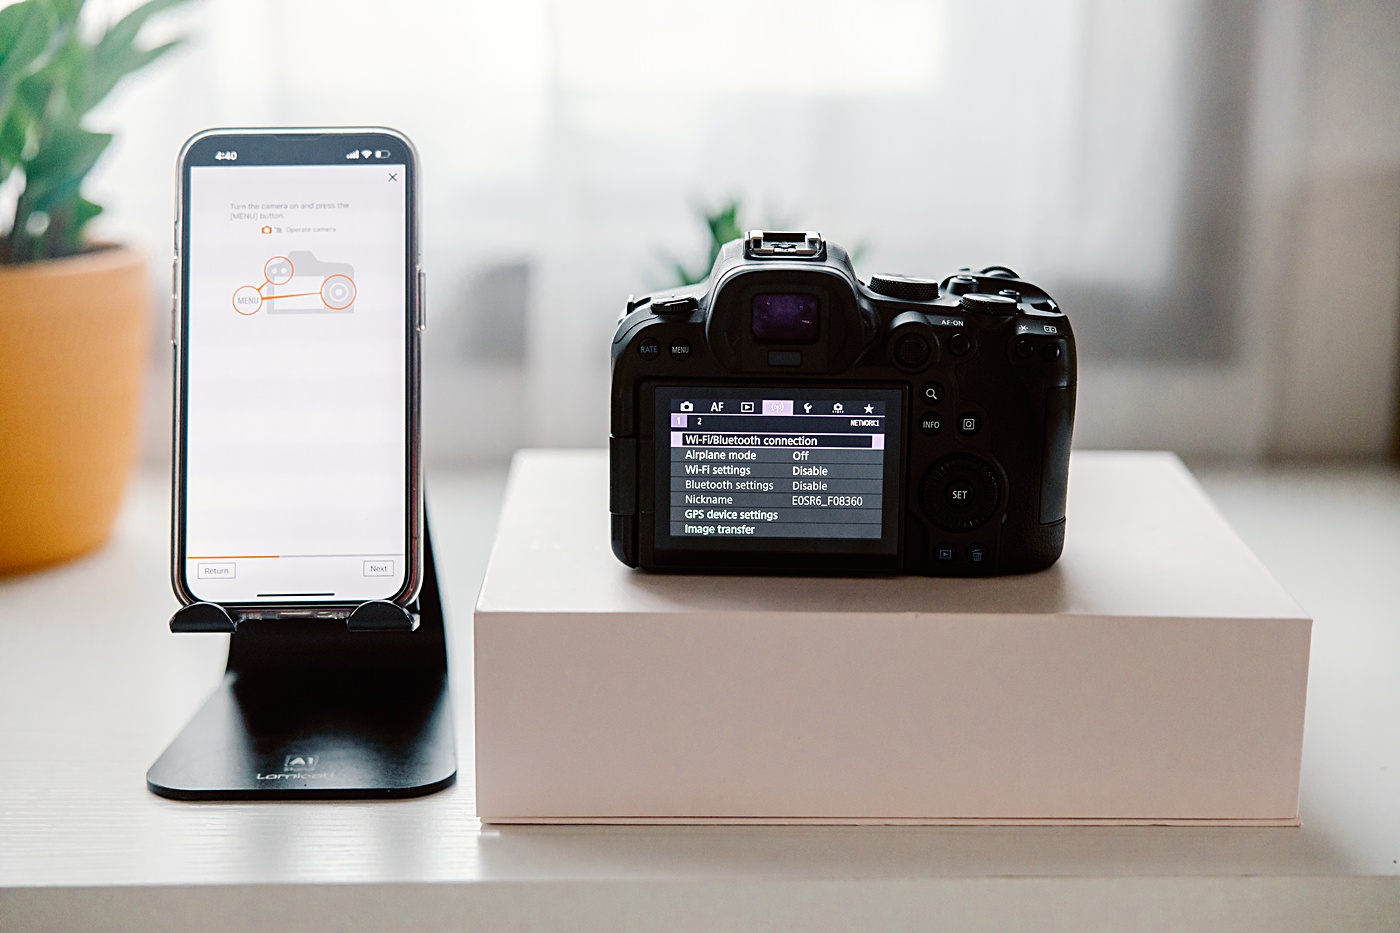
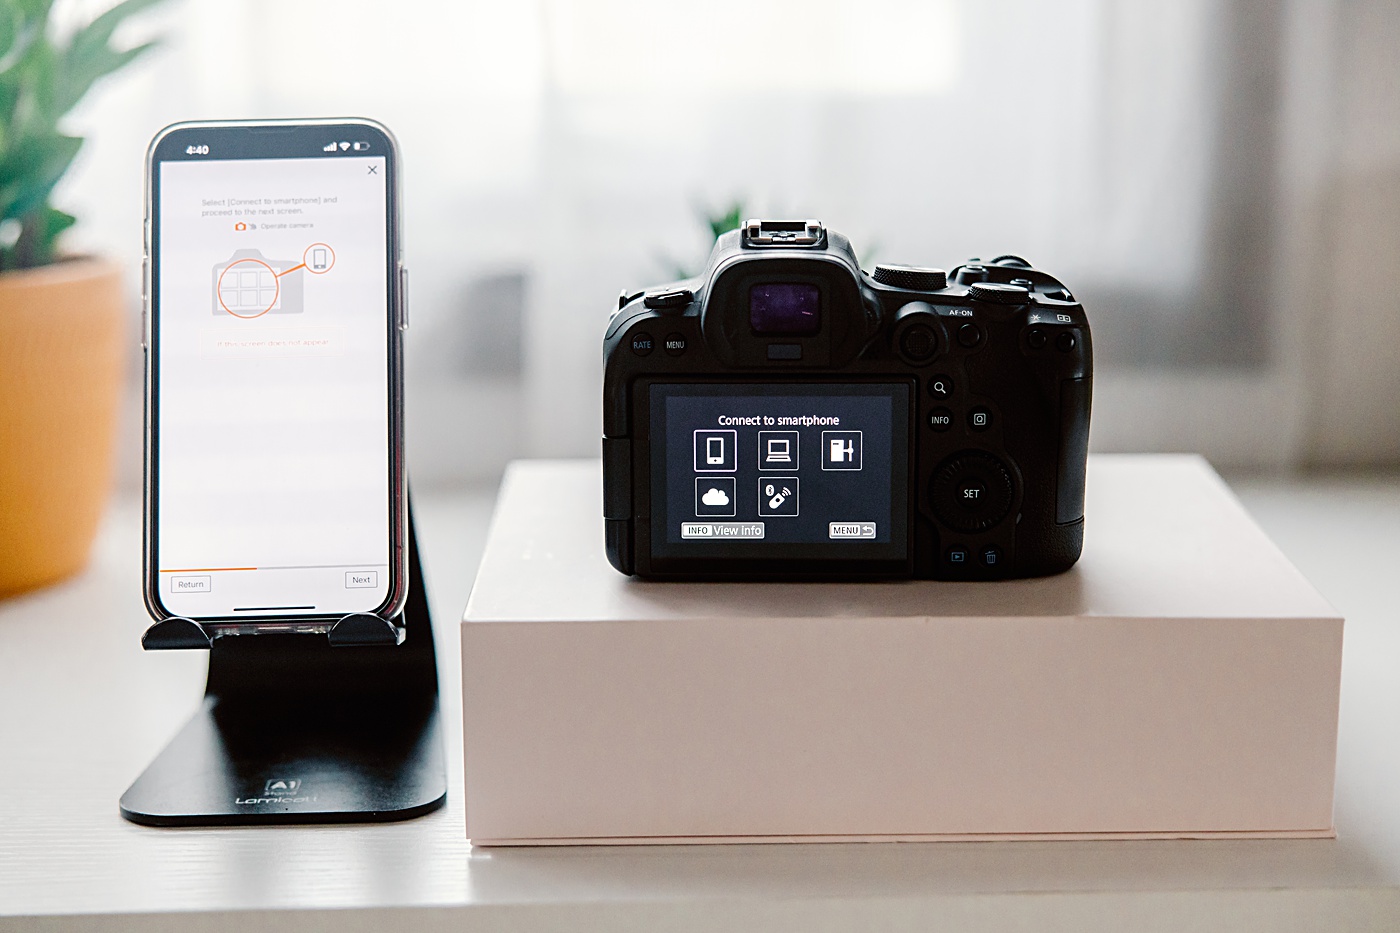
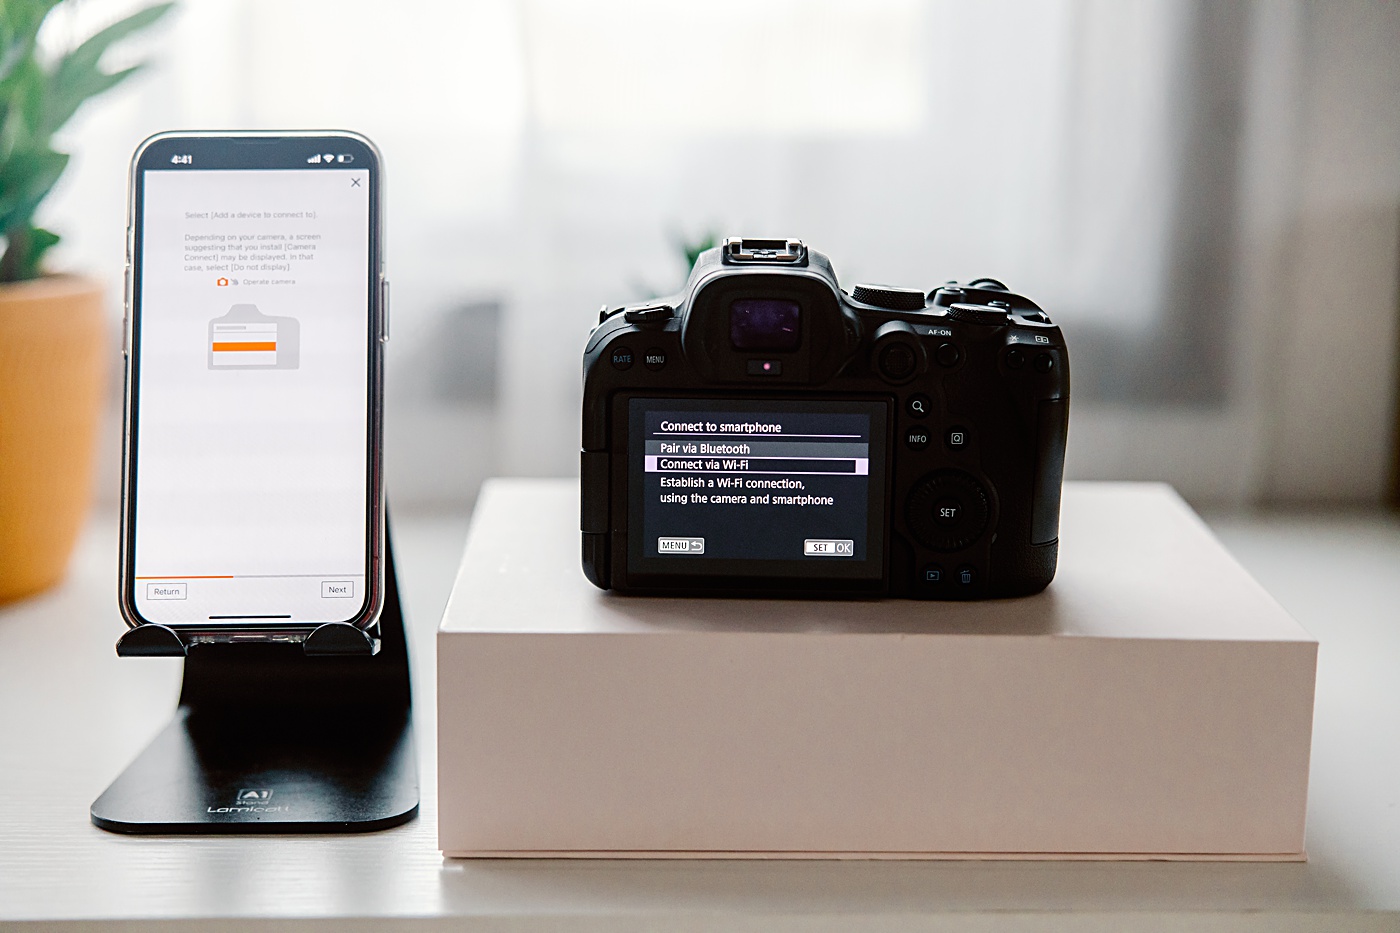
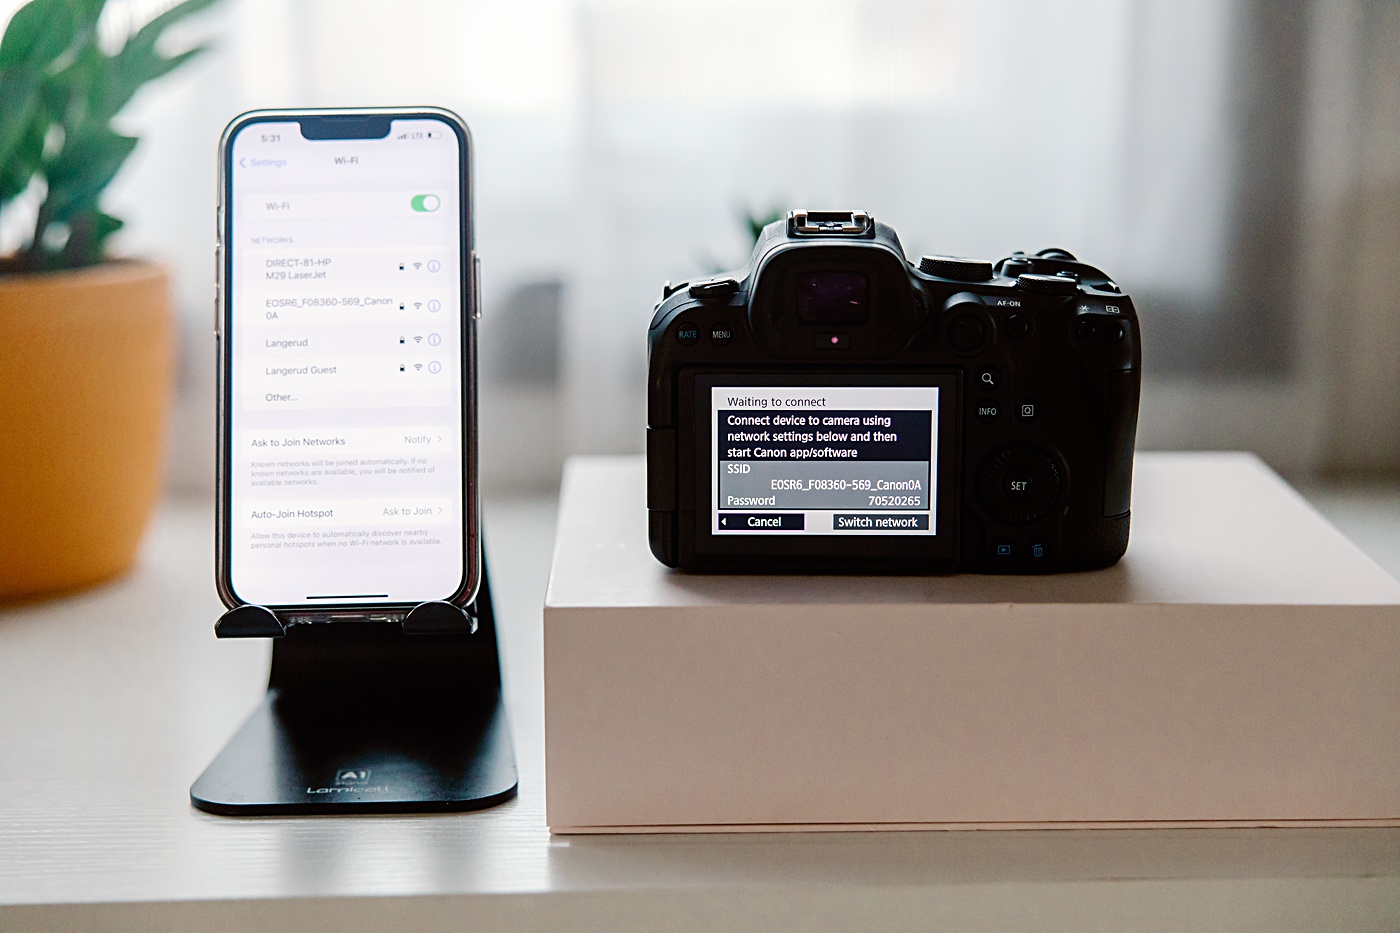
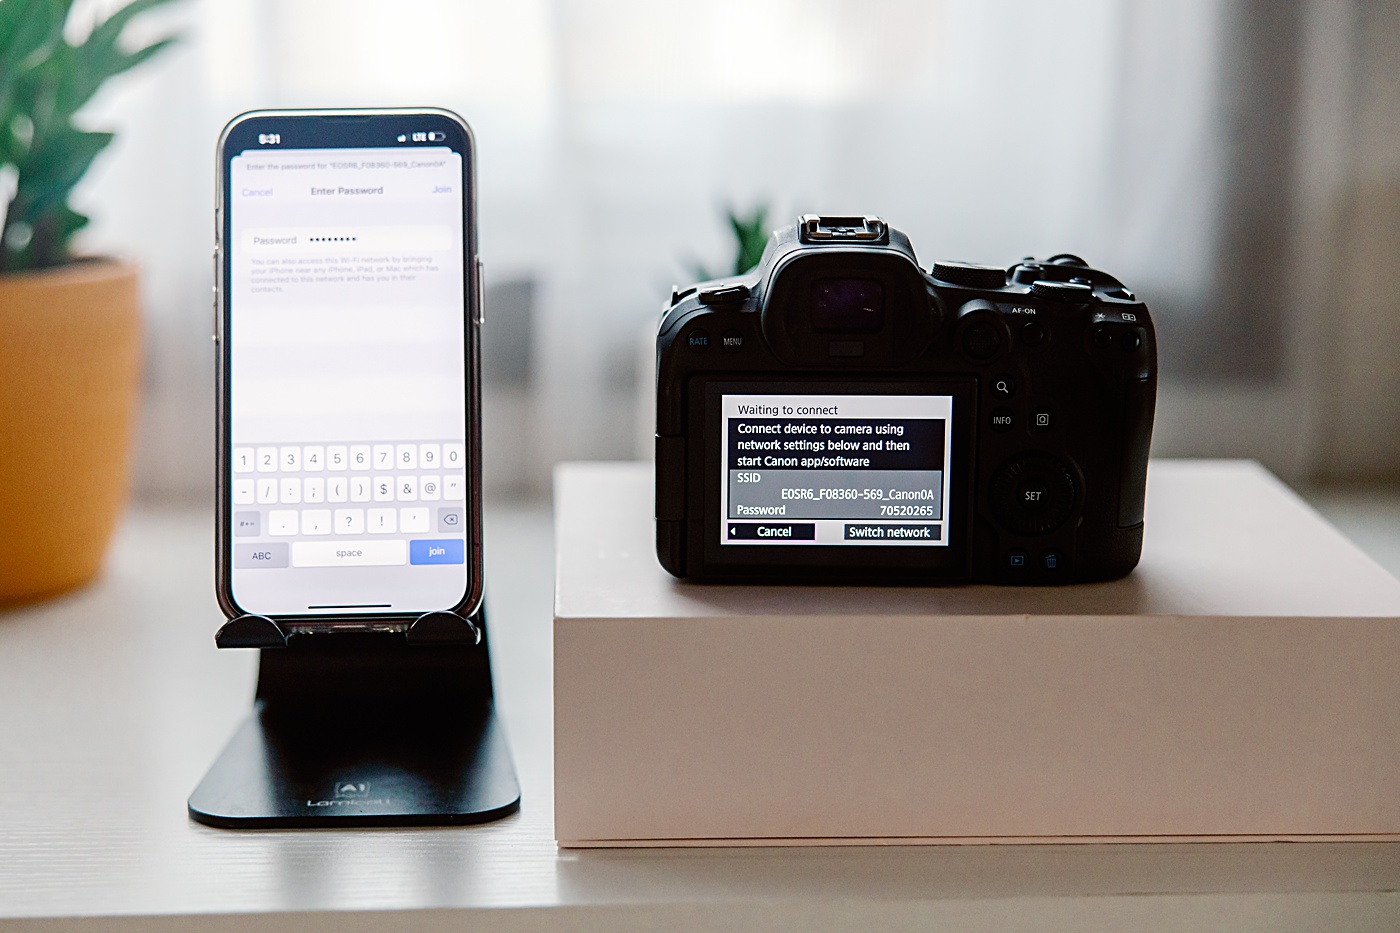
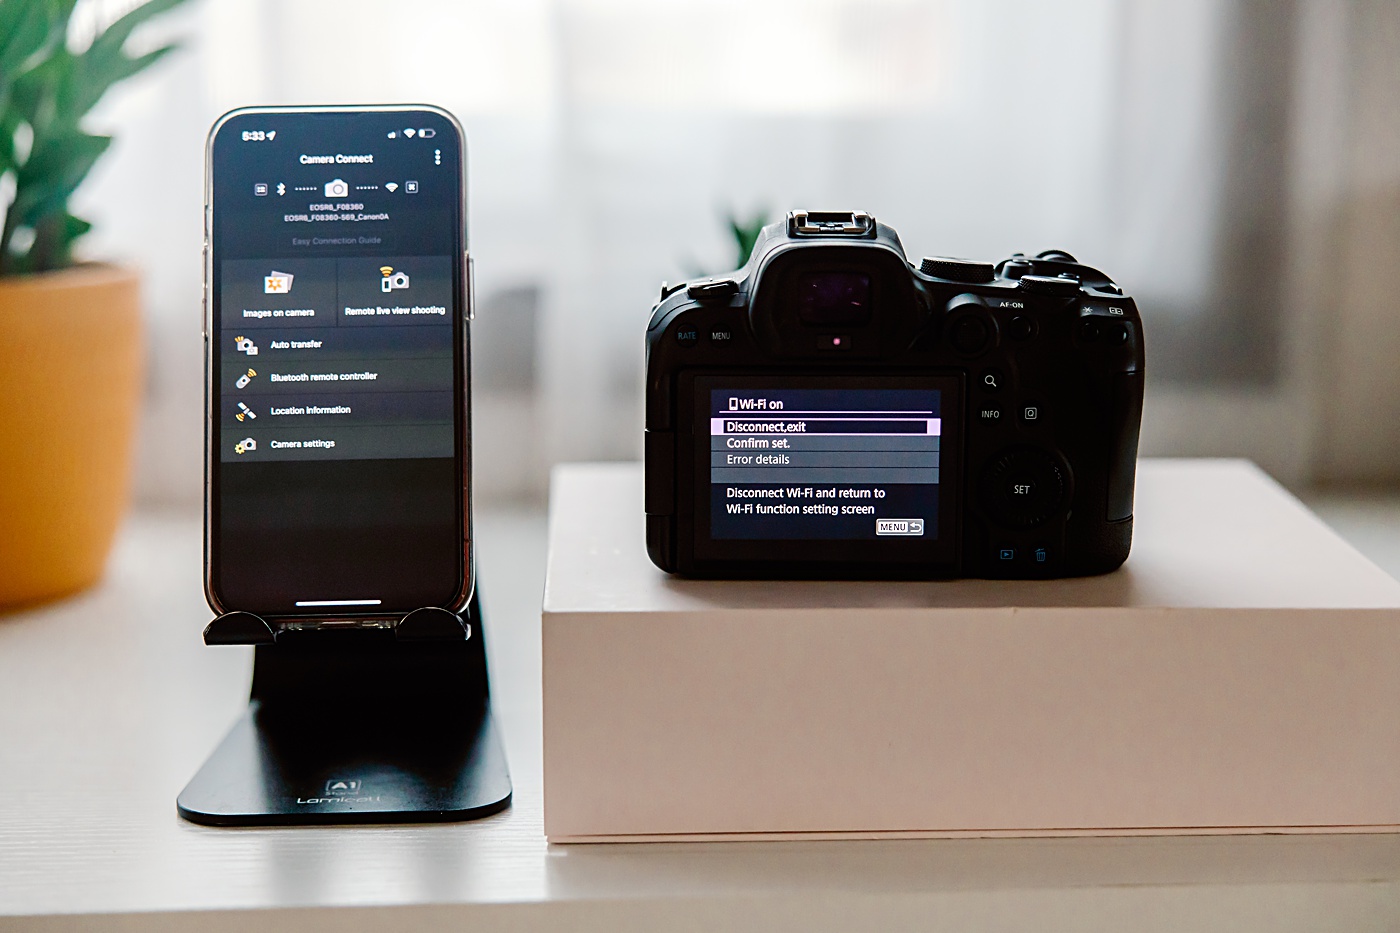
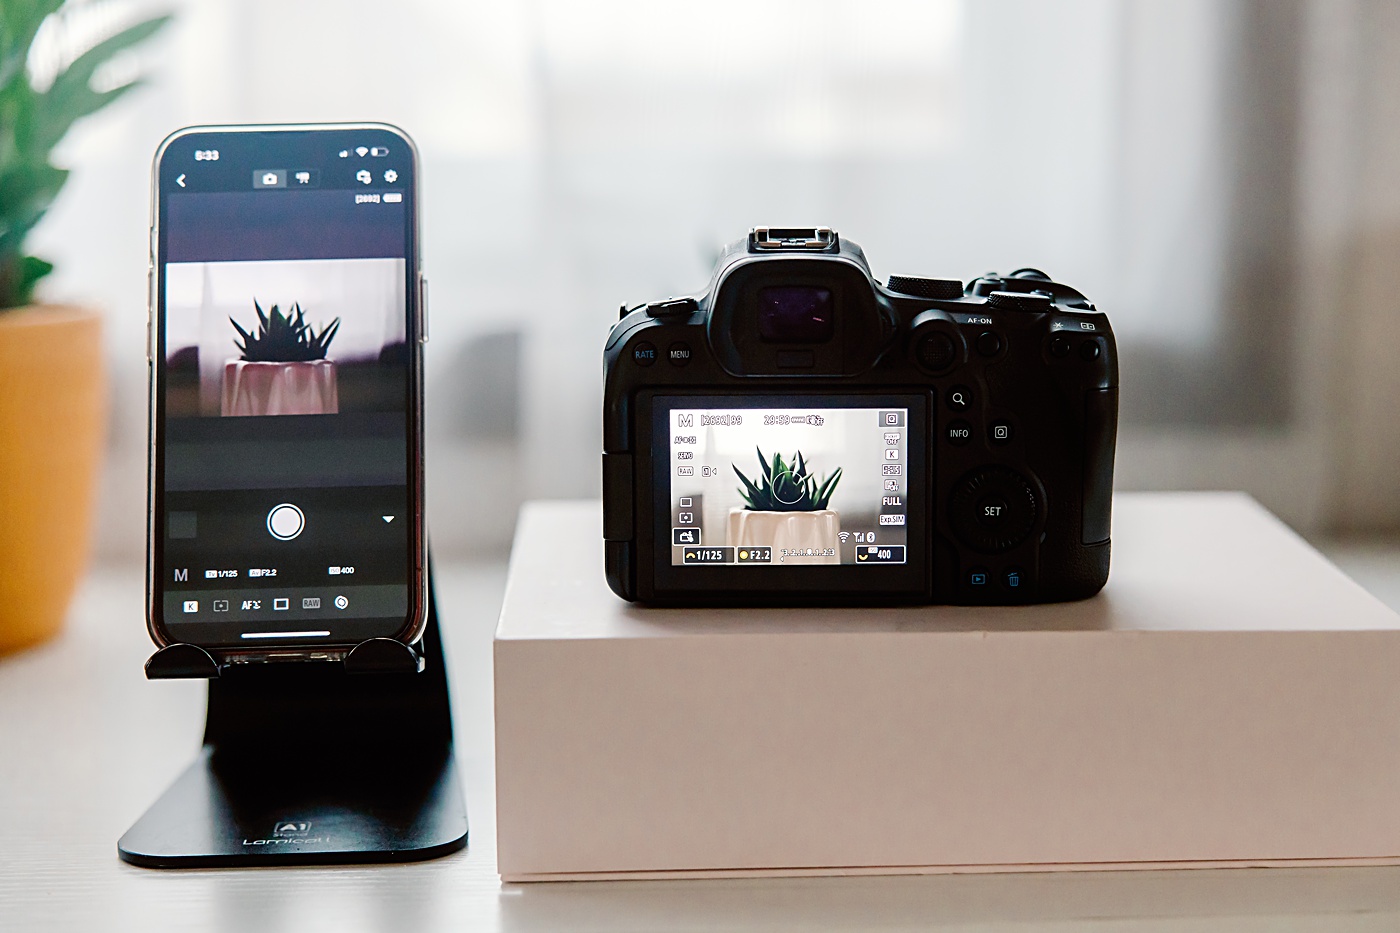
And be patient with this step. Usually, it works well, but occasionally, I have unexplained troubles and need to reset the settings a few times. The app’s easy connect guide should walk you through the steps. Make sure to pick wifi rather than Bluetooth if you want to see the live view on your phone.
Here are some screenshots of what the connection process looked like for me.
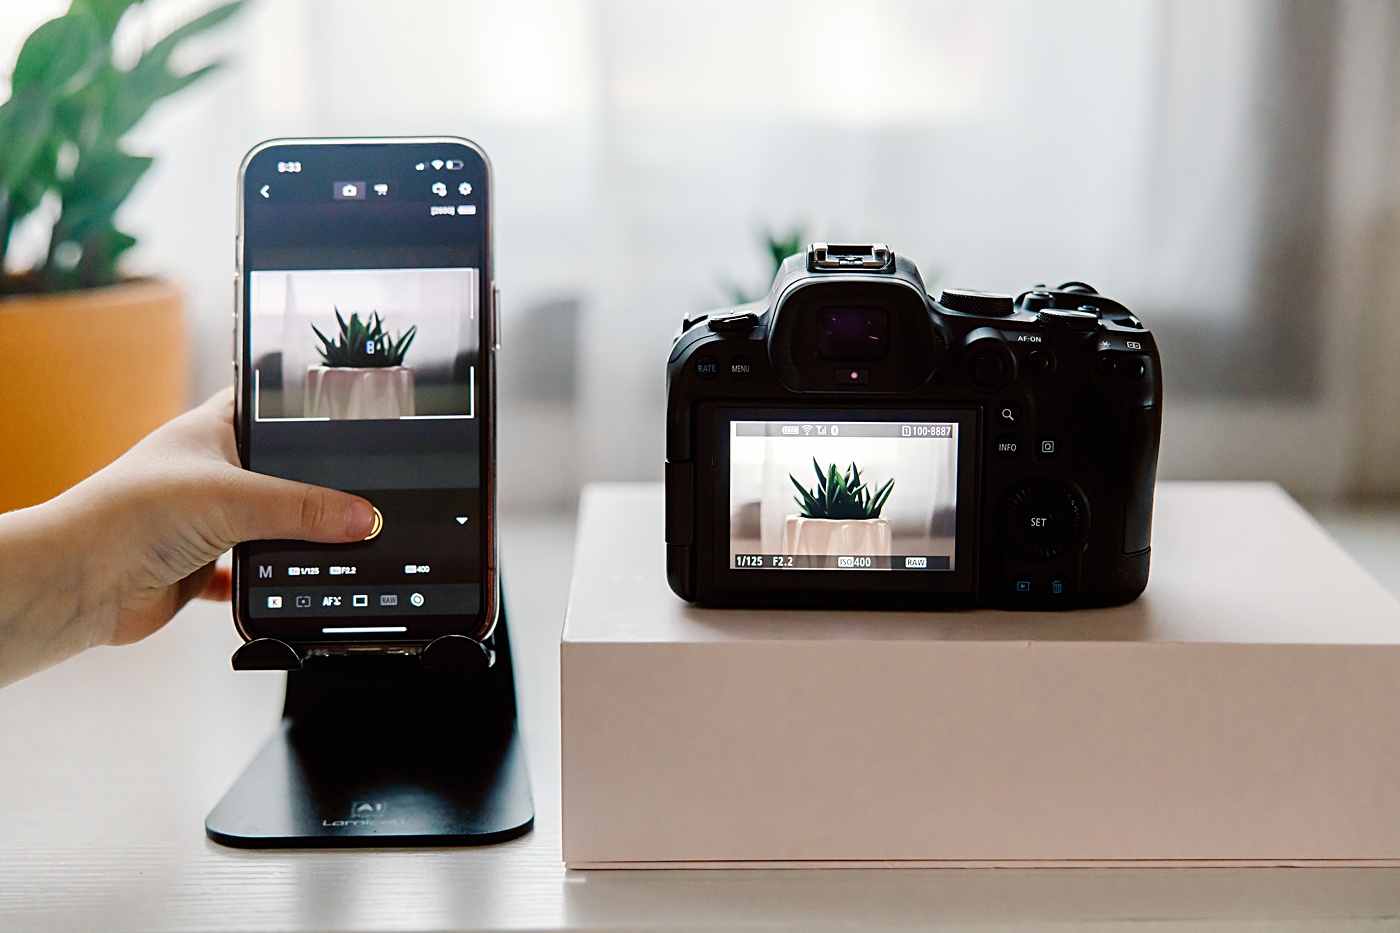
Step 2: Pick Your Location and Set the Camera on the Tripod
This will be just like picking a spot for a client or other subject of a photo, but with a little less flexibility. Since you cannot just move your body to get a different camera angle, you may need to be extra intentional about camera placement.
When setting up, I put the camera close to my best guess. Then, I stepped into the frame and adjusted as needed. I also turned on the level function on the live view screen to keep my camera level.
Step 3: Take Those Self-Portraits!
Start shooting and try not to feel discouraged. It is a lot of work to guide, direct, AND photograph yourself. I used the app to click the ’shutter button’ in real-time when my hands were out of the frame and used the two-second timer when my hands were in the frame.
QUICK TIP: It is helpful to have a chair or stool just outside your photo’s frame to set your phone on when using the two-second timer feature.


Step 4: Edit like Normal OR on Your Phone
Since you are already using the Canon Connect app, it is super easy to download the images you took (or a few of them) to your phone. I opted to download these to my computer for my usual editing process, but also often enjoy the benefits of Lightroom mobile!
Step 5: Share
If you follow this tutorial and take some self-portraits, share and tag me so I can see your beautiful images and cheer you on!
If you want to keep it simple and hire a pro, I would love to work with you on your portrait session. Get in touch on the contact page!