


My flower journey started in June 2023. I was on maternity leave and started dreaming. Specifically, I started dreaming about growing a photo-flower field. It was a magical time of checking out books from the library, reading every online article I could find, and listening to all the flower farming podcasts.
That first year started SUPER small. June was too late to start anything other than to experiment, and I had a newborn, so I did not have much time or energy, but it was a start. So, while I consider 2023 the beginning of my journey, 2024 was the first year of actual growth.
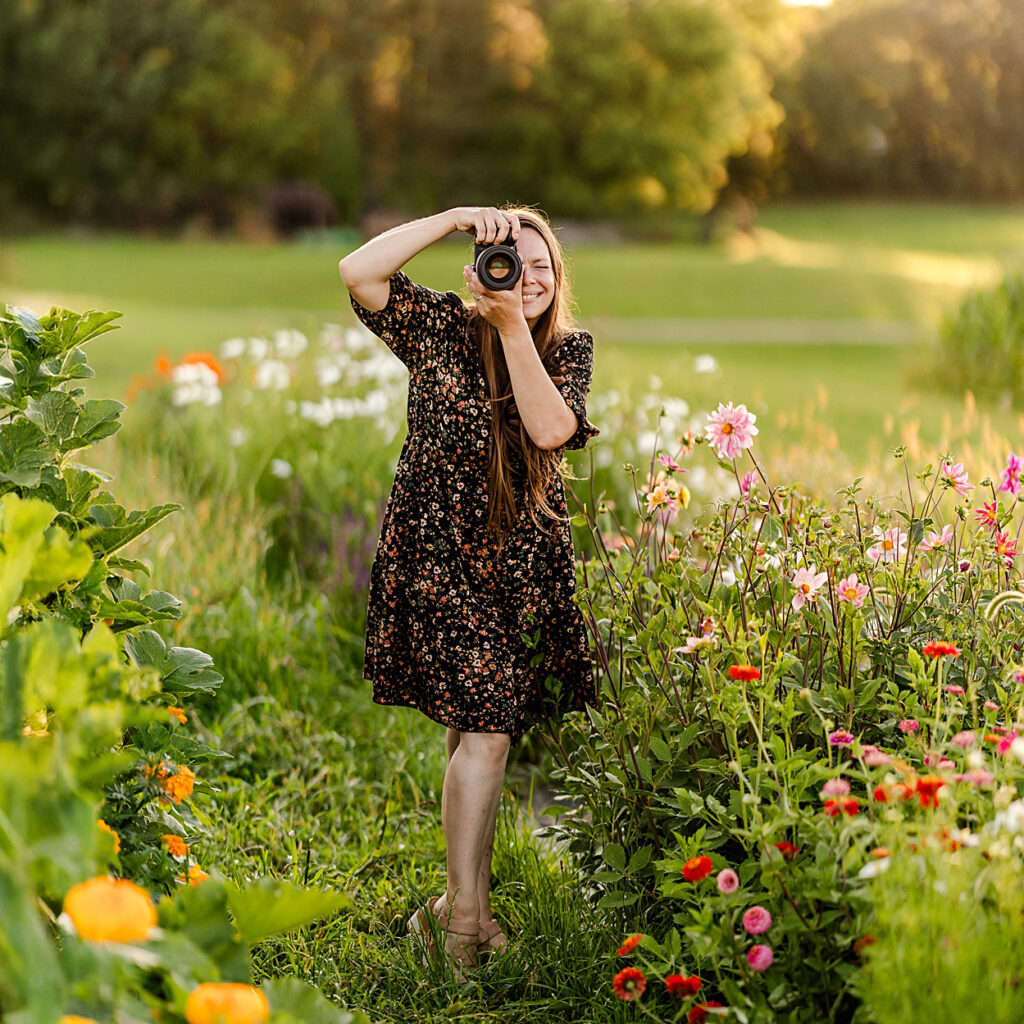
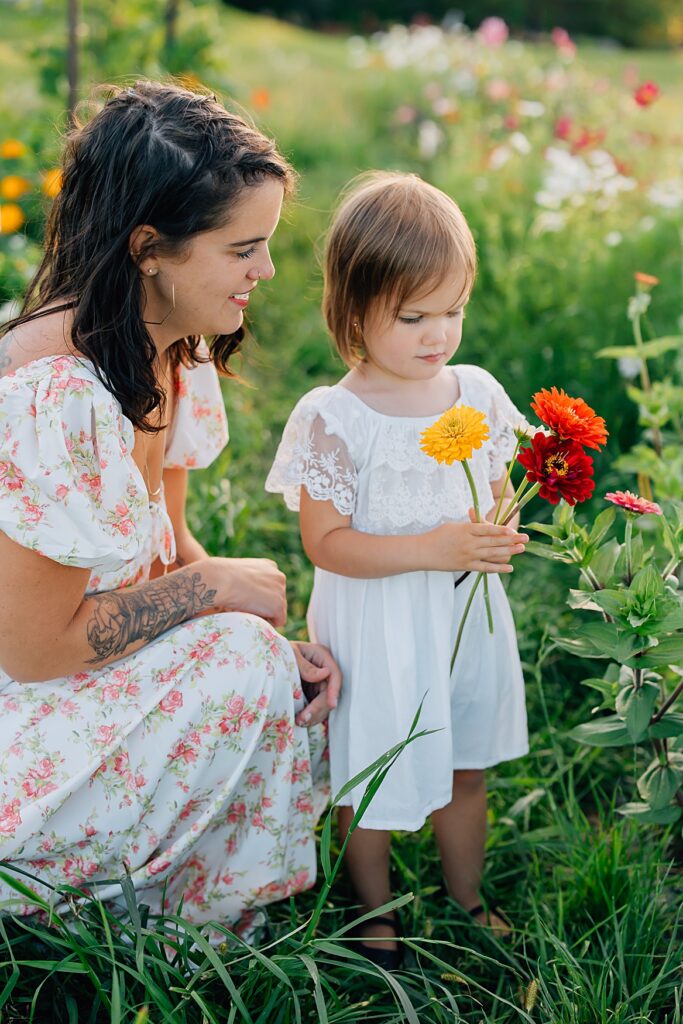
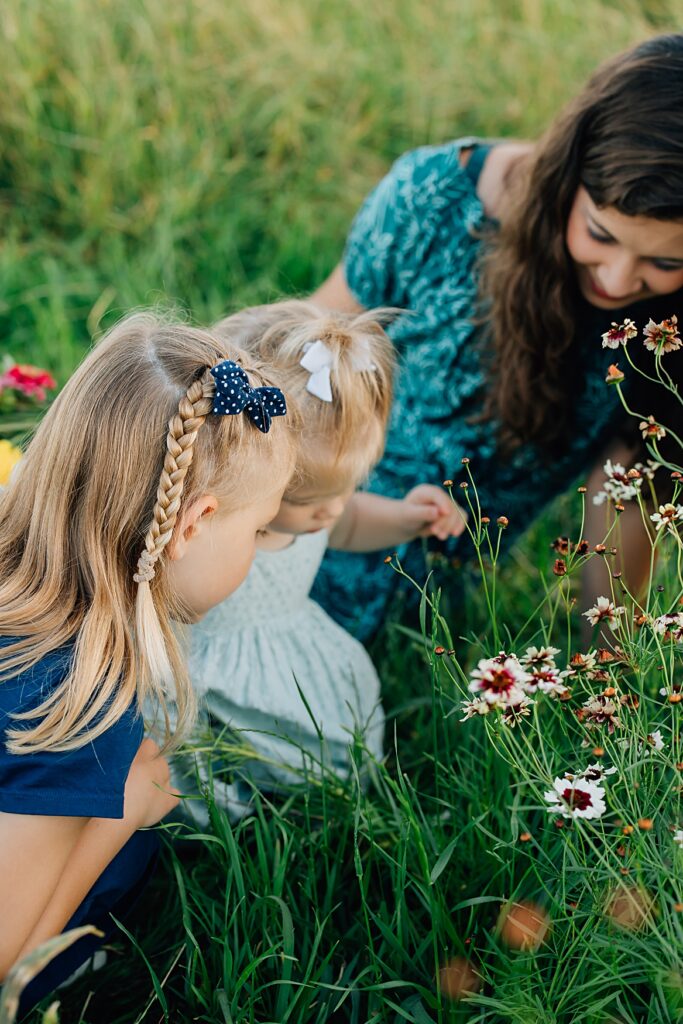
Photo of me in the flower field by Brittney Grundyson
Photo-Flower Field Goals for 2024
- Experiment – the number one goal was to experiment, try various flowers, test different growing methods, and see which varieties performed best in my space. Things I tested included:
- Soil blocking vs. seed trays
- Seed starting timing
- Traditional seed starting under lights vs. winter sowing in containers outdoors
- Grow lights vs. white shop lights
- Flowers grown from seed vs. flowers grown from tubers (I did not try any bulb-grown or root-grown flowers in 2023 to keep costs down)
- Growing in landscape fabric vs. growing in bare ground
- Using drip irrigation vs. hand watering
- Determine the ‘Photogenic-ness’ of the different flower varieties.
- Most tall flower varieties are advertised as cut flowers, so it was hard to tell which ones would photograph well in a field environment vs. cut for bouquets. I needed to assess height, density of flowers, quality of foliage, etc.
- See how the flowers fit into a session.
- We have planted many other crops in this space for flowers, such as buckwheat, rye, sunflowers, etc. But having a proper flower field was a whole new adventure. In 2025, I will have a better idea of what to expect regarding bloom windows and when to best schedule sessions specifically for the flowers.
- Enjoy the flowers!
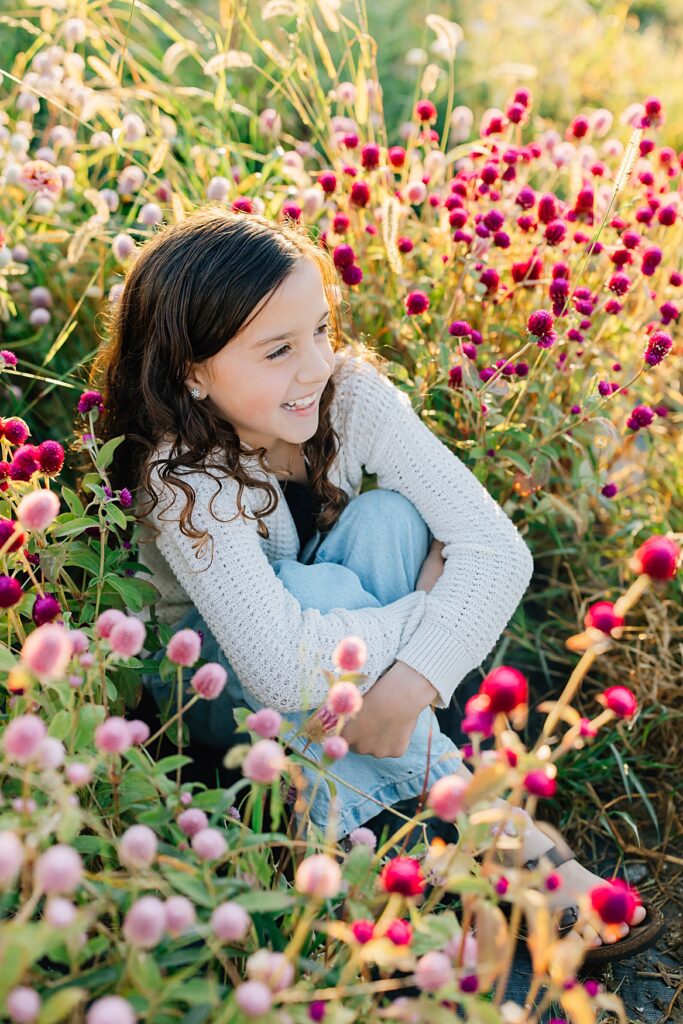
- Number One priority was to enjoy the flowers personally and in photos. This space brought so much joy, and I cannot wait to bring it back in 2025.
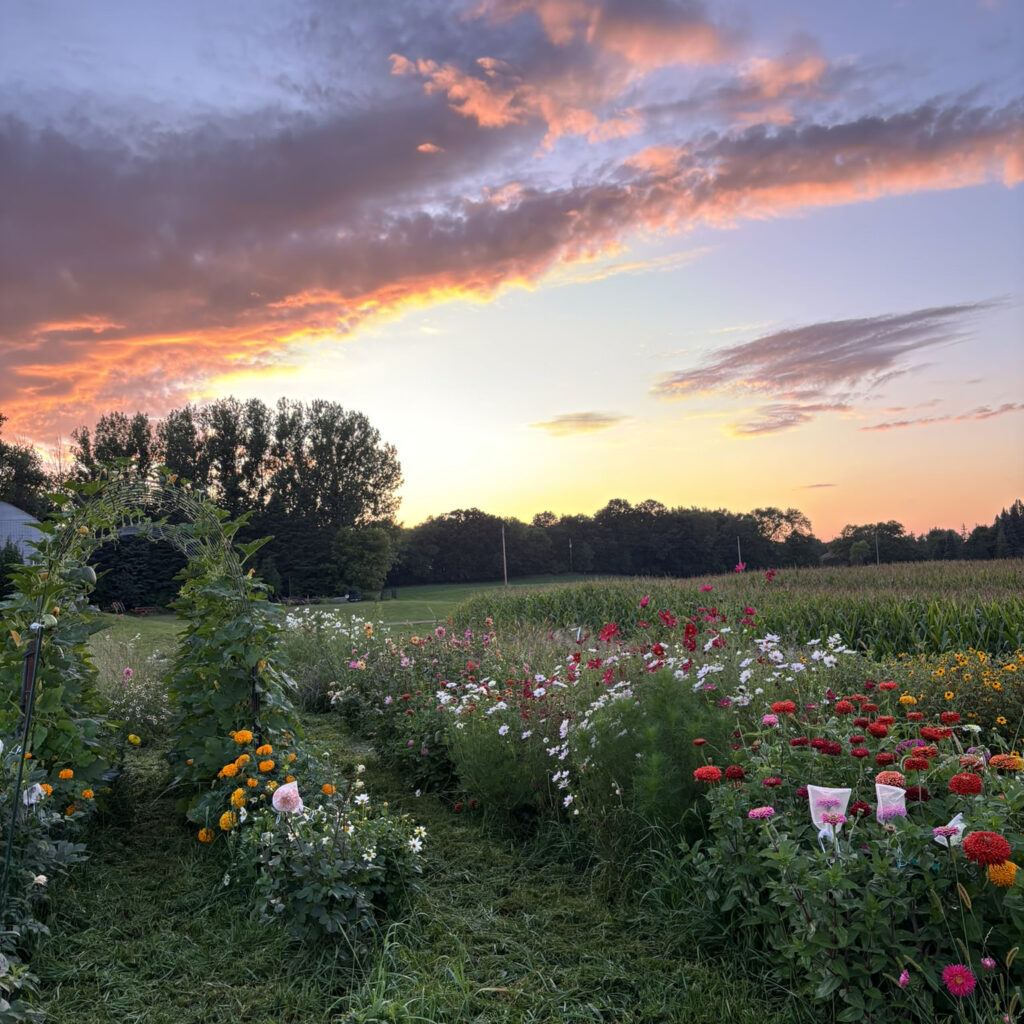
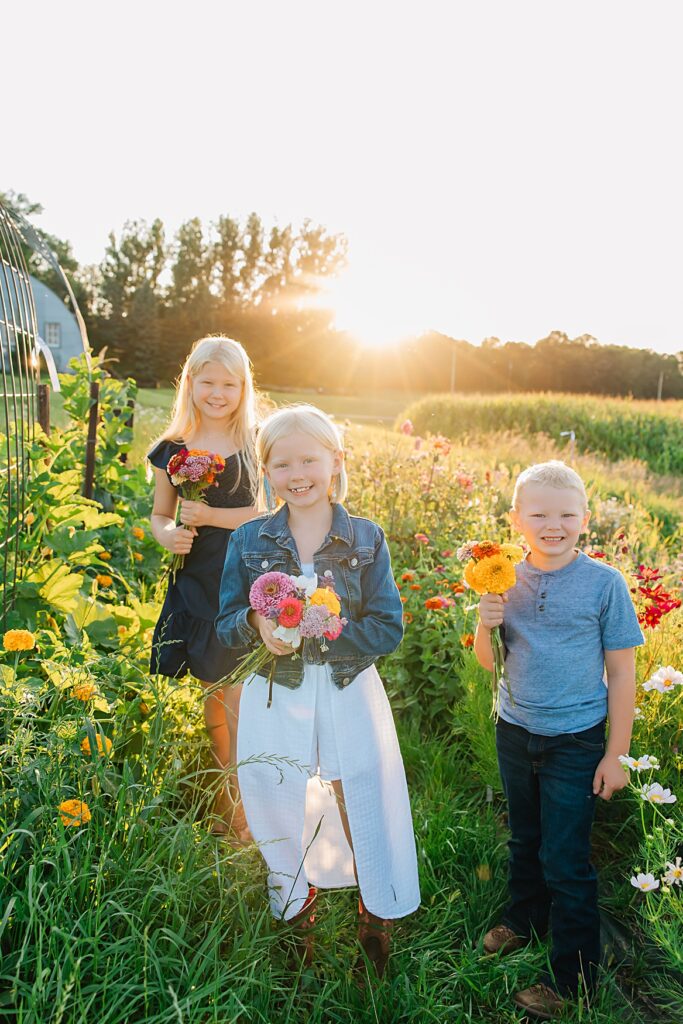
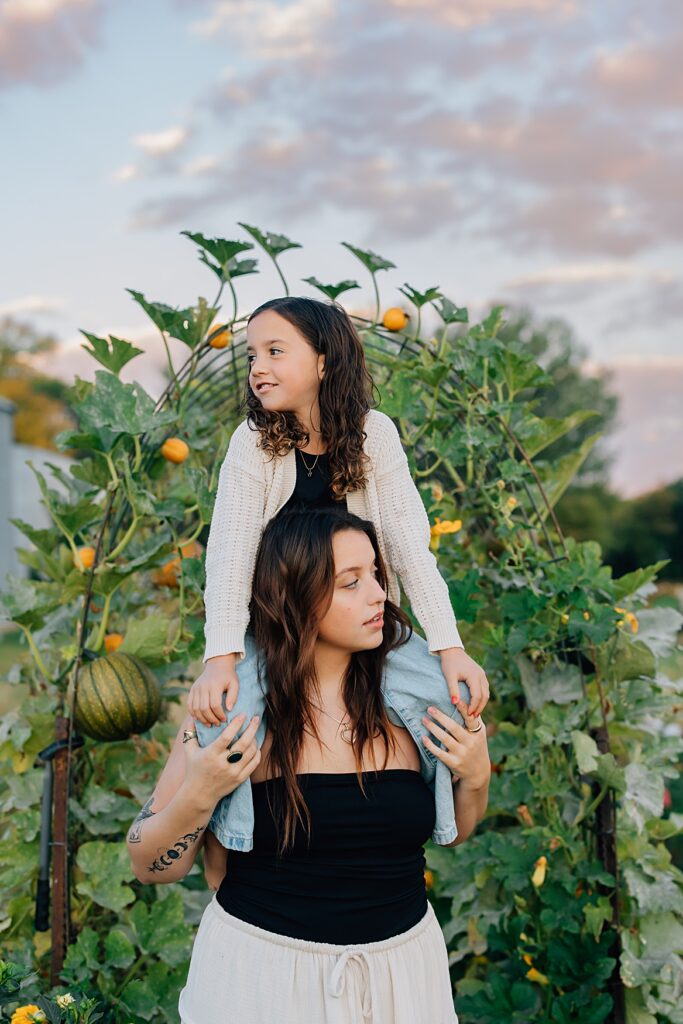
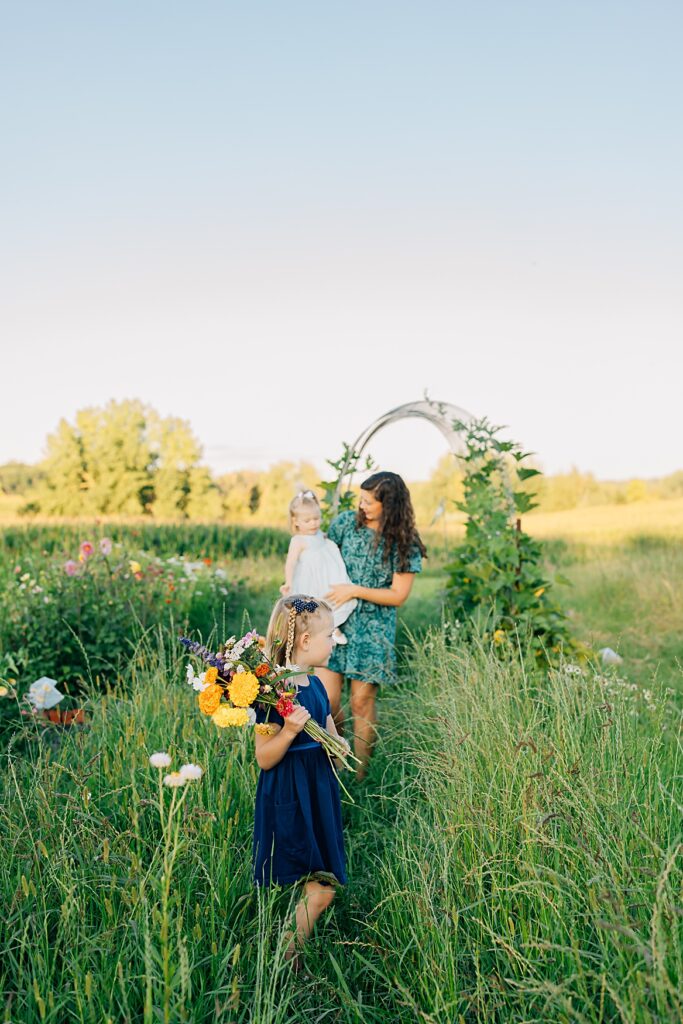
Cell phone capture of the 2024 photo-flower field
What did the 2024 photo-flower field look Like?
Approximately 1000 square feet of flowers and a gourd arch. Of that space, 10’x80′ was in landscape fabric, and the remainder had no weed barrier.
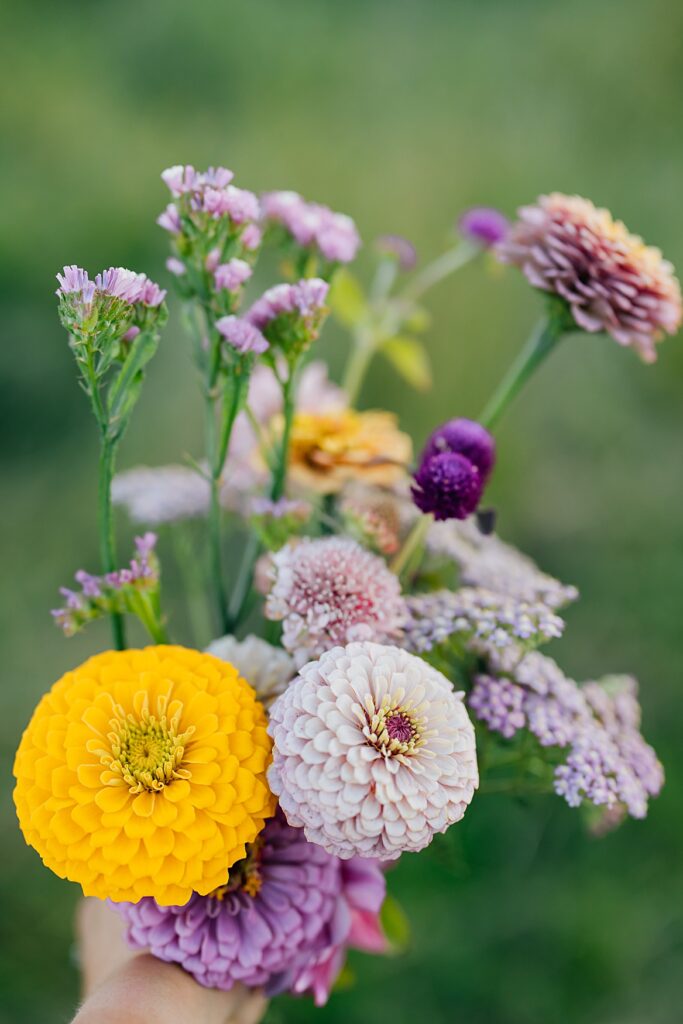
Types of flowers grown included but were not limited to:
- Strawflower
- Salvia
- Cosmos
- Zinnia (multiple varieties, including one of Floret’s new releases!)
- Dahlia (from seed and tuber)
- Yarrow
- Echinacea
- Rudbeckia (trilobia and traditional)
- Scabiosa
- Statice
- Asters
- Sunflowers (the procut variety)

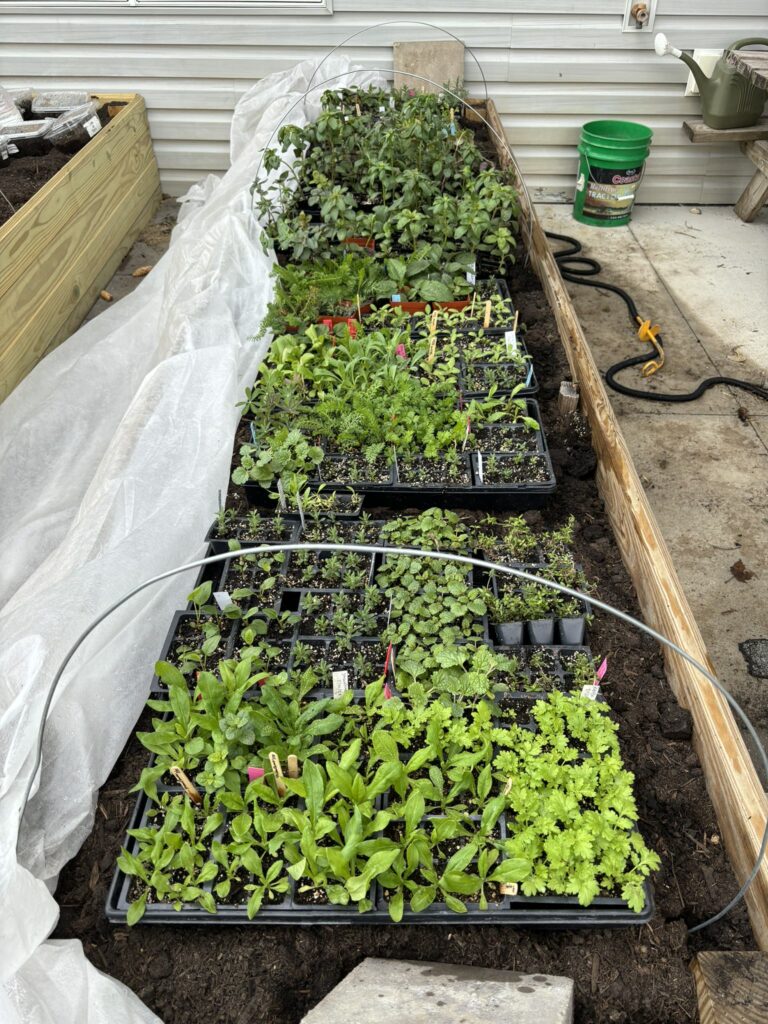
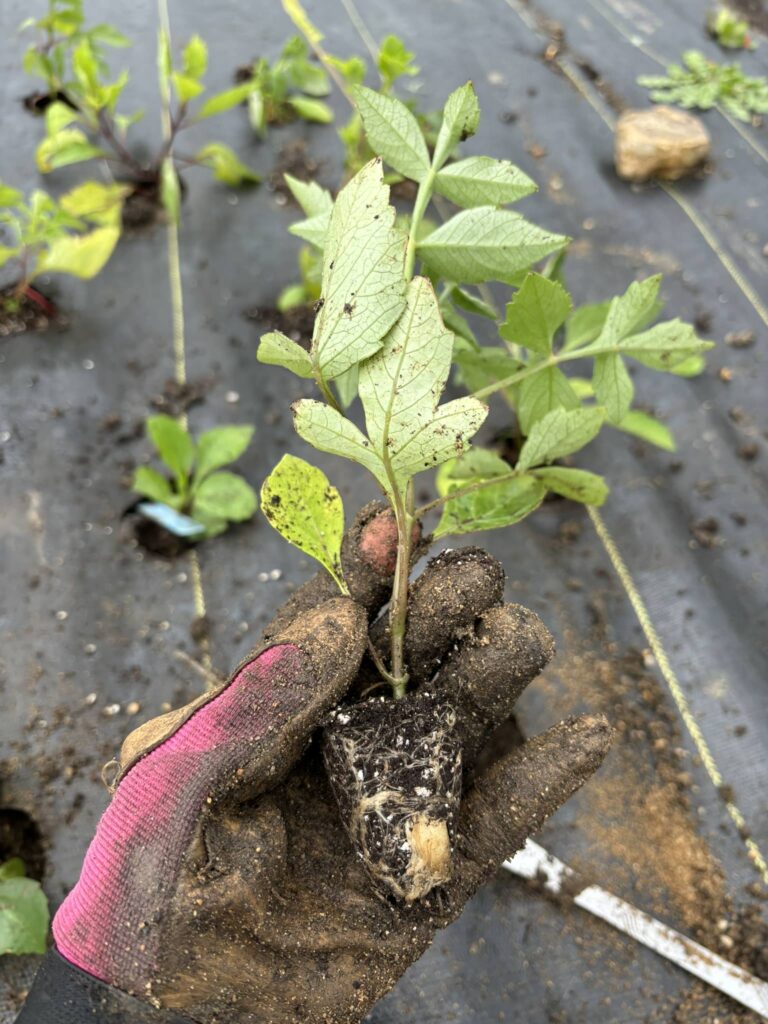
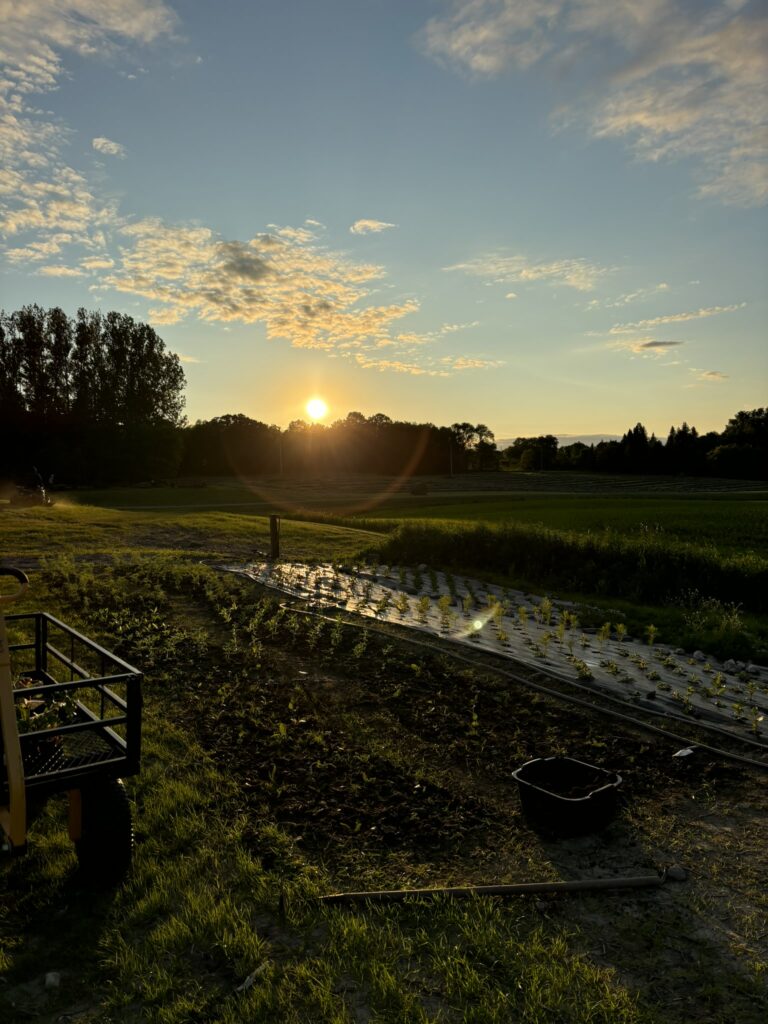
Photo-Flower Field Steps
1. Field Prep
In the fall of 2023, we spread compost on the photo-flower field space and had it rototilled.
2. Seed Starting In Our Basement
- Began in February
- Shelving unit with four shelves, two 4′ lights per shelf
- A mix of soil-blocking and seed trays
Starting seeds for the photo-flower field was a huge undertaking. Honestly, I had no idea what I was getting myself into! Despite the enormity of the project, I love it. Watching those tiny seeds eventually turn into flowers in the field was so much fun.
By the end of the seed-starting season, I began to feel like I had my process down. The typical 2″ soil-blocking unit was not for me. It only fit 50 plants in a 10×20 try, and the soil blocks started to break down and crumble before the plants grew out of the space. The 3/4″ micro soil blocks worked exceptionally well for hardy annuals and perennials. After purchasing one soil-blocking unit and not loving it, I was hesitant to buy another, but it was game-changing in my seed-starting process.
For hardy annuals and perennials, with the 3/4″ soil-blocker, I could start around 240 seeds in a 10×20 tray, saving so much space (and allowing me to use fewer lights). Once those plants eventually outgrew the soil blocks, I would transfer them to a 50 or 72-cell tray to continue growing until they were ready to transplant in the spring.
For tender annuals like cosmos, zinnias, and dahlias, I preferred starting them directly in a 72-cell tray since they quickly grew out of the 3/4″ soil blocks.
3. Hardening Off the Seedlings
In the past, I have never had much success starting seeds for our vegetable garden, usually scrapping the seeds we started and just buying new ones from a local nursery. I now attribute that to not using a grow light AND not hardening the plants off. It is embarrassing that I had no idea this was even a step in seed starting.
Hardening off is actually quite simple, considering how crucial it is. It’s just the concept of slowly acclimating the seedlings to the outdoors. I’m not an expert here, so I recommend googling and finding an article from someone who is, but for the first few days, I would put them out for a couple of hours, then after a while, full days, and eventually overnight.
4. Spring Prep on the Planting Space
- Prepping landscape fabric (we burned holes every 10″ as commonly recommended by flower farmers)
- Planning out, purchasing, and laying out the drip irrigation
- Placing the landscape fabric on the field
5. Planting the Field
Perrienials and hardy annuals went into the field a few weeks before our last expected frost date. This made me a bit nervous, but following the expert advice in Lisa Mason Ziegler’s book Cool Flowers, I felt I was in good hands. As an extra safeguard, we put up a low tunnel with frost cloth to protect them on especially cool nights.
The tender annuals like Zinnias and Cosmos were all planted in the field after all threats of frost had passed.
Most of the field was planted into black woven landscape fabric. Many others before me recommended using a butter knife to cut the seedlings, and I found that process to work quite well.
6. Weed Weed Weed
Need I say more
7. Maintenance and Enjoy
Run irrigation as needed and enjoy those flowers until frost.
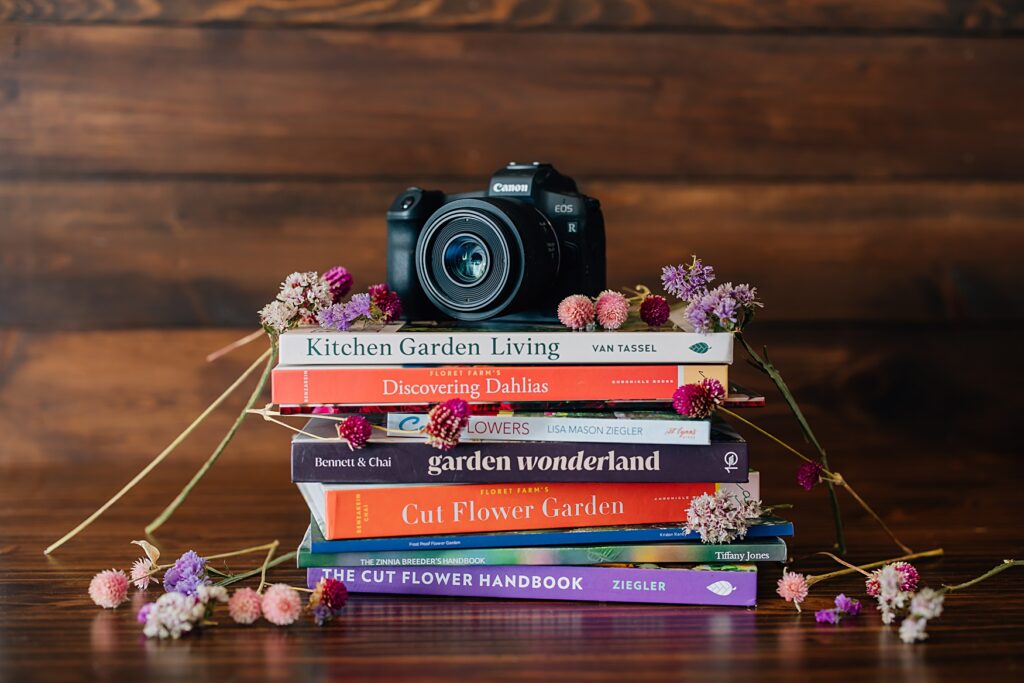
Photo-Flower Field Resources I Recommend for Photographers
I used these tools, resources, and more in 2023. These are not affiliate links, just links to what I purchased.
Books & Research:
I started this journey with essentially no flower-growing knowledge. I needed to learn everything from how early each variety needed to be started inside to the best practices for different varieties.
The Cut Flower Handbook by Lisa Mason Ziegler – If I could only have one flower book, I think it would be this one. It felt like a proper field guide of all the flowers, how to start them, how to care for them, etc.
Cut Flower Garden by Erin Benzakein – This is the go-to book for aspiring flower growers.
Cool Flowers by Lisa Mason Ziegler – A book dedicated to growing hardy annuals.
The Frost Proof Flower Garden by Kristen Raney – Covers similar topics to Cool Flowers but specific to zone 3 flower gardening.
Seed Starting Supplies:
Being brand new to growing, I had no tools on hand. Here is everything I purchased and ended up loving.
3/4″ Soil Block Maker – I loved using this for seed-starting hardy annuals and perennials. It saved so much space, and my seedlings thrived.
72-Cell Seedling Tray – These were my favorite trays for starting zinnia, cosmos, and dahlia seeds.
3″ Nursery Pots – In my experiments, a few seedlings outgrew their trays before it was time to plant; these nursery pots worked great for potting them up until I could transplant them into the field.
1020 Trays & Clear Covers – These are the trays I soil blocked into and put my seedling trays in—no link, as I purchased locally. The covers come off as soon as the seeds begin to germinate.
Fan – This was essential for keeping my seedlings healthy. I used a smaller one when I just had a few seedlings started and upgraded to a larger one as my seedling space increased.
Field Tools & Supplies:
Landscape Fabric – I used a roll of 6′ DeWitt landscape fabric. I chose this brand after researching what flower farmers recommended online for durability. The plan is to reuse this same piece of fabric for many years. I believe I purchased mine at Lowes, but I think I’ve seen it on Amazon before.
Cardboard & Mulch – I tried the cardboard and mulch method in some of my flower growing (outside of the primary field location). This will be my method from now on when planting perennial spaces.
Irrigation – I purchased my drip irrigation system from Dripdepot. Their customer service was top-notch! As a newbie, it was a lot to learn which size pipes could span what distances, and they cleared up all the confusion for me. I did not use one of their kits, but instead put together a custom kit using drip line (vs. the less expensive drip tape). I chose drip line since it would likely get stepped on by photography clients and was supposed to be more durable. The drip line will be reused for years.
Water Timer – Whether you use drip line or a sprinkler. A timer is essential. I grabbed one from our local hardware store, but they can be found anywhere.
Stirrup Hoe – This was a handy tool for weeding outside of the spaces protected by the landscape fabric. Maybe I would buy one with a full-length handle next time, though.
Shovels, rakes, garden hoe, etc. – Having an assortment of standard garden tools on hand for various projects is helpful.
Tips:
Bloom Timing – Consider your bloom window and when you want to photograph in the flower field. Are you looking for spring sessions, summer sessions, or fall photos? I focused on planting season-long bloomers rather than one-and-done flowers.
Know Your Climate – I am in Minnesota, meaning we have a shorter growing season than most of the United States, where most resources are designed. I had to take this into account when planning my field.
Be Aware of Disease – Disease ended up being utterly devastating in 2024. My understanding is there was a higher occurrence of disease due to the cool, wet early summer. Bugs spread many diseases, so managing your bug populations and pulling diseased plants ASAP is essential. I was unaware that what I was dealing with was a disease and not just stunted growth at first, and I ended up pulling whole sections of Zinnias and Cosmos.
Weed Barrier Doesn’t Mean Zero Weeds – Even with the small 3″ holes burned into the weed fabric, weeds find a way. To give your seedlings the best chance of thriving, be prepared to pull weeds throughout the early season that pop up alongside the baby plants.
Flower Thoughts for When Growing a Photo-Flower Field
Some flowers did well, others were meh, and some were total flops (when it came to photos anyway). Here is a highlight of some of the flowers I tried in 2023 and if I want to grow them again. These are in no particular order.
Snapdragons – These were WONDERFUL and gorgeous but bloomed primarily before my photography season. I will grow them again in 2024, experimenting with a few different varieties to see if we can extend the bloom window.
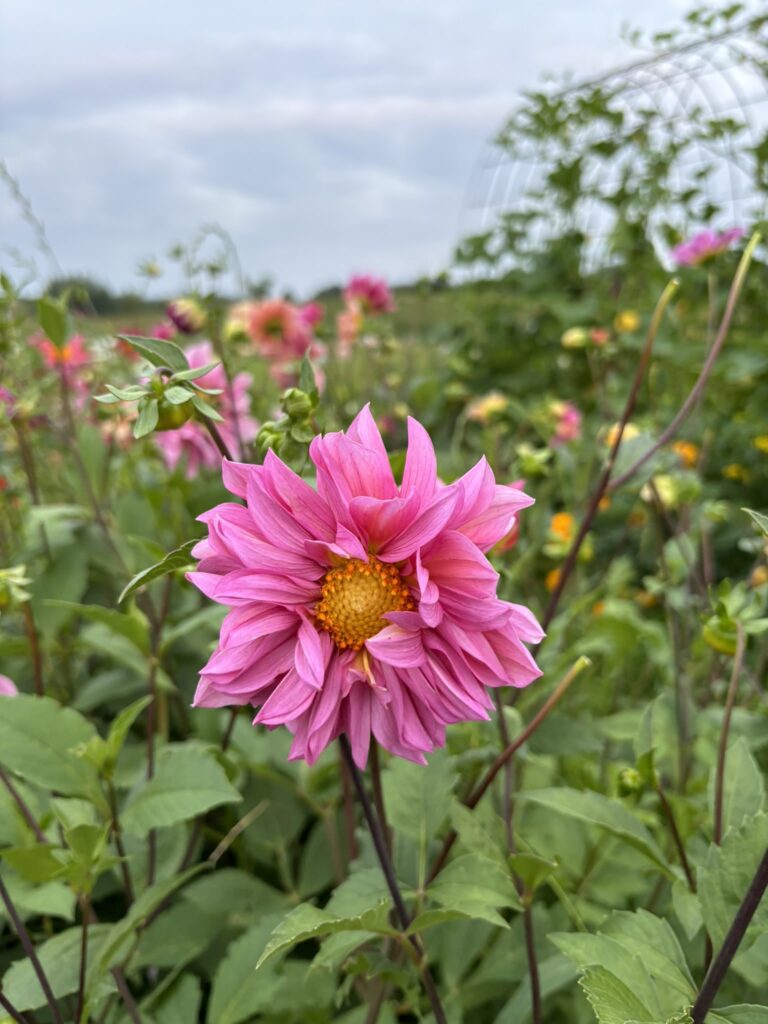
Dahlias from Seed – I will be growing dahlias from seed again. They bloomed earlier than the tuber-grown dahlias, but they’re also a mixed bag, some prettier than others. One thing I loved about them was the HEIGHT! Spaced at 10″, they were some of the tallest flowers in the field, which was great for having clients stand among the flowers.
Dahlias from Tubers – These were planted outside the landscape fabric at 12-18″ spacing. These were fun to grow, but Minnesota’s climate has a short and late bloom window. I will be growing them again but not expanding the area too much. Dahlias also have several diseases to watch out for, both viral and bacterial, so you want to be careful where you source your tubers.
Zinnias – A true workhorse in the field. These bloomed relatively early and then up to frost. Different varieties grew to various heights. I will be growing Zinnias again.
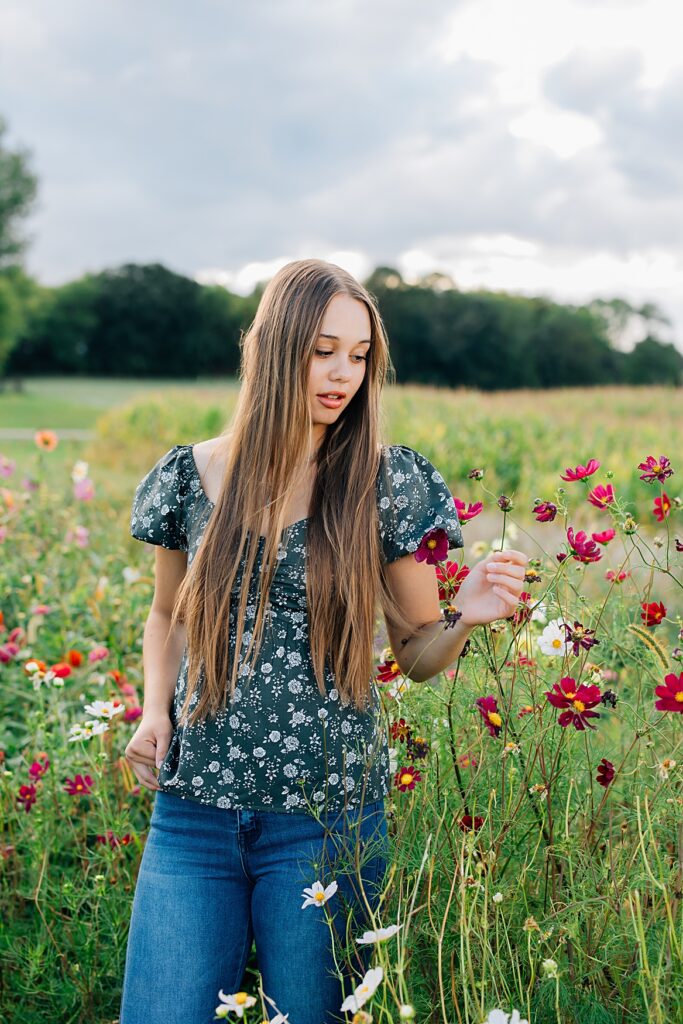
Cosmos – These required extra work in the form of deadheading but were probably my favorite flowers to photograph among. So whimsical and beautiful and tall. I will be growing them again.
Salvia – My first impression of this flower was ‘meh’, but I ended up loving them. They were some of the earliest blooming flowers in the field and bloomed again later in the season. Where I grew them in partial shade, they bloomed all season long. I plan to grow salvia again.
Statice – Online, I read over and over again how great statice was in bouquets. For me, that didn’t translate to the photo-flower field concept. However, I plan to try a few new varieties in 2025 to see if it was a varietal choice.
Rudbeckia Triloba – Bayleigh of True Blue Flower Co. recommended I plant this; she was not wrong! While a late bloomer, this was tall and had the cutest little orange flowers. And once it started blooming, it didn’t slow down until frost. These were a staple in the fall photo-flower field photos. I will add this to a perennial space in 2025, as these deserve a permanent space on the farm.
Asters – I only grew a handful of these; for me, they were short, bloomed late, and didn’t do much for photos. If I grow any in 2025, it will just be a couple to give it a second chance.
Strawflower – These did not like our wet, clay soil in early summer 2024. But I’m not sure this flower shines as a photo-flower field flower. I may plant just a few for cutting since they are gorgeous as cut flowers and dry so well!
Lavender – I love lavender; it’s so pretty and smells good. But it’s not native to my zone, and they didn’t like our clay soil. I will try to grow a few in a different space in 2025 but skip them in the photo-flower field. It’s also on the short side, so outside of a vast field scenario, my clients must sit next to these.
Yarrow – This flower is so hardy and abundant. In its first year, it was a bit short. However, it was gorgeous to have my clients sit alongside! Yarrow will be moving to a perennial space in 2025, and I think I’ll put it in the field again, too, TBD.
Sunflowers – Deer food. Need I say more? I never had an issue when we planted a whole quarter acre of sunflowers, but when it was just a few in the flower field, the deer sought them out and ate them off. I feel the need to grow a few more in 2025, but we’ll see. The other downfall to sunflowers is they bloom for about 2 weeks and are done. So you either need to plant successions of them or be ok with the short bloom window. This is another reason I do not dedicate significant space to sunflowers.
Marigolds – I almost forgot about these hardy flowers when making this list. They are not showy but were solid performers. The plants were prolific, and the blooms lasted a long time on the plants. I’d say they even outperformed the Zinnias. I did not grow large chunks of marigolds, but I did grow patches here and there.
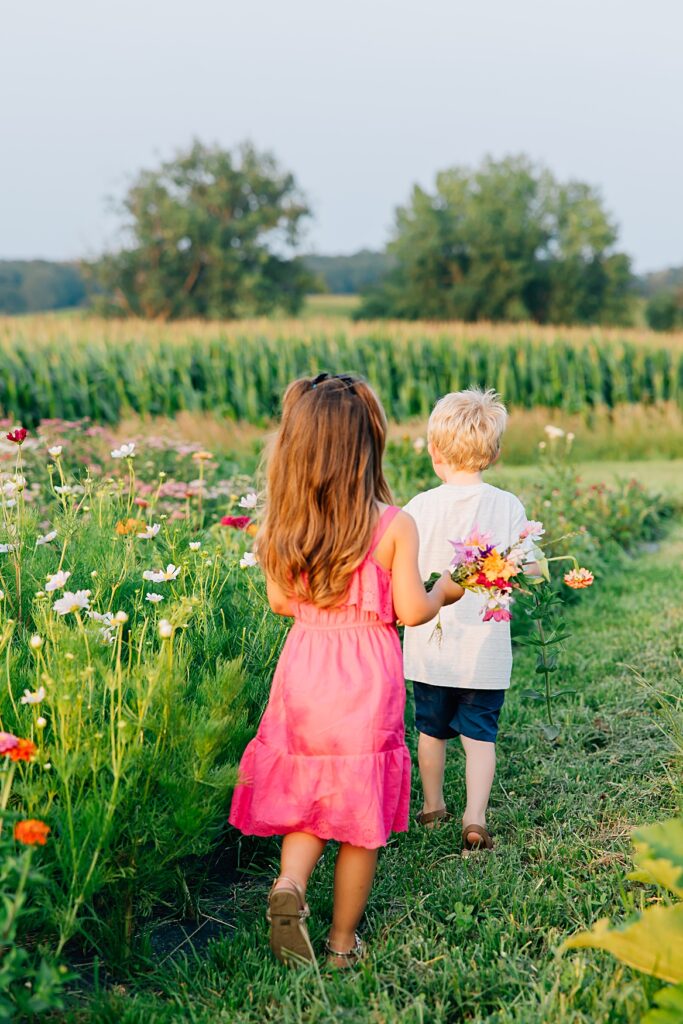

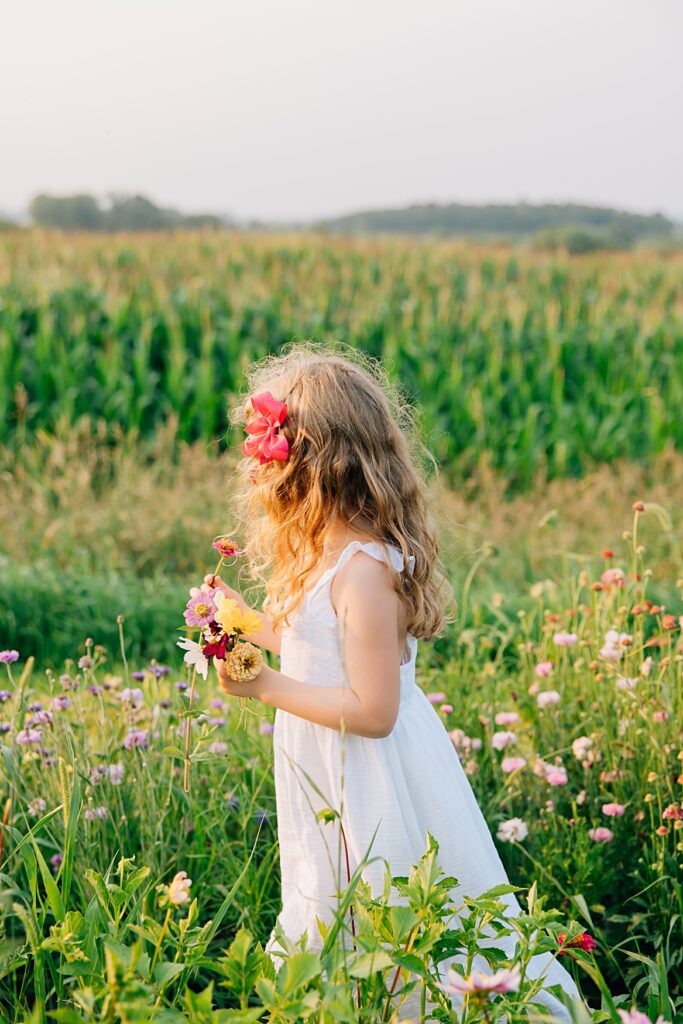
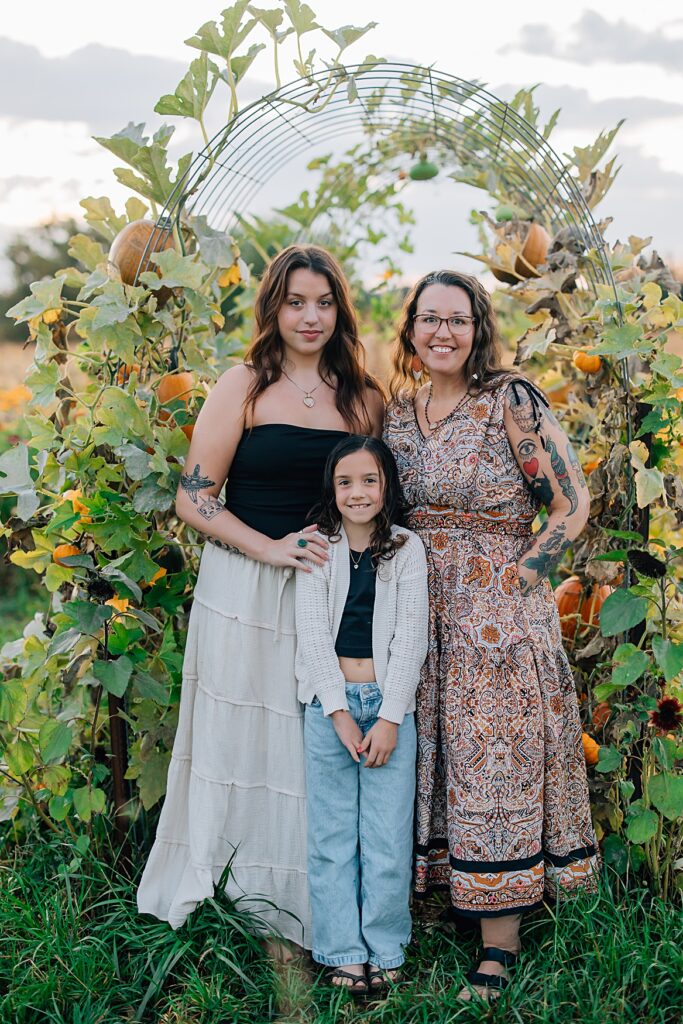

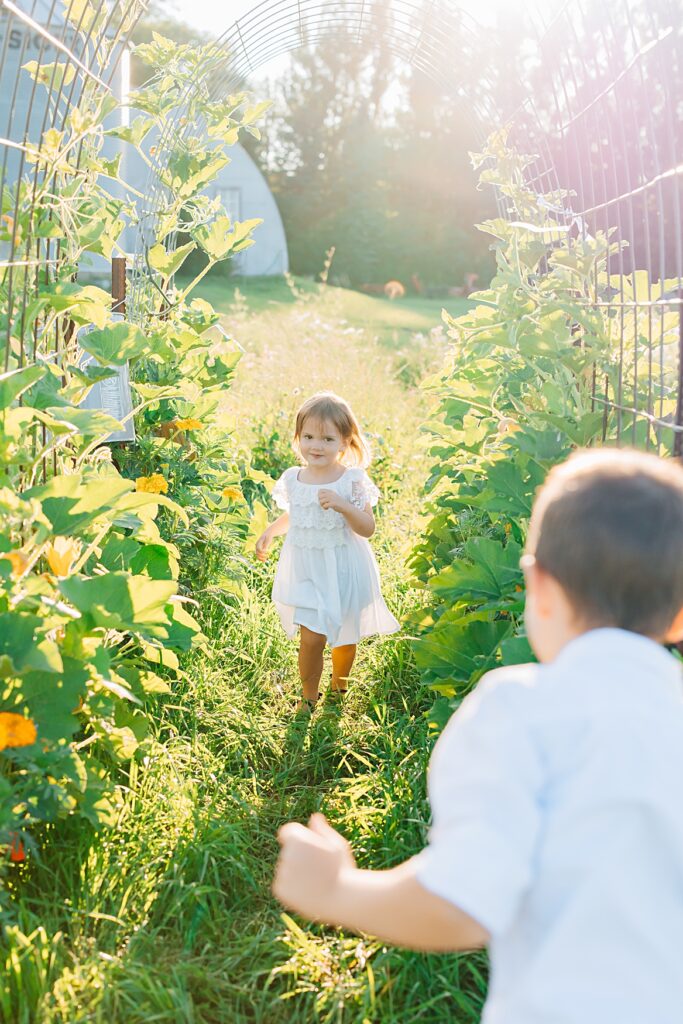


This space ended up being such a sanctuary. It was so much more than just ‘flowers’. The flower field became such a place of peace for both myself and my clients to go and explore, see what is blooming and enjoy a little bit of nature, just as the sun was setting. I cannot wait to see what the 2025 field brings!
Want to get on the schedule? Be sure to head on over to the waiting list to get first dibs available dates when they go live in the spring!


